
Welcome to our Ultimate Guide to Framing Cross Stitch, your comprehensive resource for transforming your needlework into a beautifully preserved masterpiece.
In this guide, we cover every aspect of the framing process, from preparing your artwork with care to selecting the ideal frame and matting that enhances its beauty.
Whether you’re a seasoned stitcher or new to the world of cross-stitch, this guide is designed to equip you with the skills and knowledge to showcase your creations with confidence and artistry, ensuring they remain cherished pieces for years to come.
Here’s what we will cover:
Preparing Your Cross Stitch for Framing
Embarking on the journey of framing your cross-stitch artwork is exciting, but before the frame even comes into the picture, there’s a critical step that sets the stage for a stunning display: preparing your cross-stitch. This preparation is a delicate process, where your craftsmanship meets the art of preservation.
Here’s how to do it right:
Washing: A Gentle Cleanse
- The Purpose: Even if your piece looks spotless, washing is essential. It removes accumulated oils from your hands, dust, and any other invisible particles that could affect the fabric over time.
- The Process: Fill a basin with lukewarm water and add a drop of mild, fragrance-free detergent. Submerge your cross-stitch gently, letting it soak for about 10 to 15 minutes. Avoid agitation or rubbing, which can cause the threads to fray or the colours to bleed.
- A Tip for Colourfastness: If you’re worried about colours running, test a small corner of the fabric in the water first. This is particularly important for hand-dyed threads.
Drying: Patience and Care
- Air Drying: After washing, lift your piece carefully from the water and gently squeeze out excess moisture. Avoid wringing, as this can distort the fibres. Lay it flat on a clean, dry towel, reshaping it to its original dimensions.
- The Right Environment: Choose a drying spot away from direct sunlight and heat sources. This ensures even drying without affecting the fabric or thread colours.
- Flipping: Halfway through drying, flip your piece to ensure both sides dry evenly.
Ironing: The Final Touch
- Preparing to Iron: Once your piece is just slightly damp, it’s time to iron. This step removes any lingering wrinkles and gives your artwork a crisp, professional look.
- The Ironing Process: Set your iron to a low to medium heat. Place your cross-stitch face down on a fluffy towel. The towel acts as a cushion, preventing the stitches from being flattened. Gently press the iron over the back of your piece, moving in a consistent, smooth motion. Avoid steam, as it can reintroduce moisture.
- Checking Progress: Lift your piece periodically to check for smoothness. If wrinkles persist, iron gently until they’re eliminated.
Extra Tips for Perfection
- Framing Immediately: It’s best to frame your cross-stitch soon after ironing. This prevents any new wrinkles or dust from settling in.
- Handling With Care: Always handle your washed and ironed piece with clean hands and minimal contact. This preserves its pristine condition until it’s safely housed in its frame.
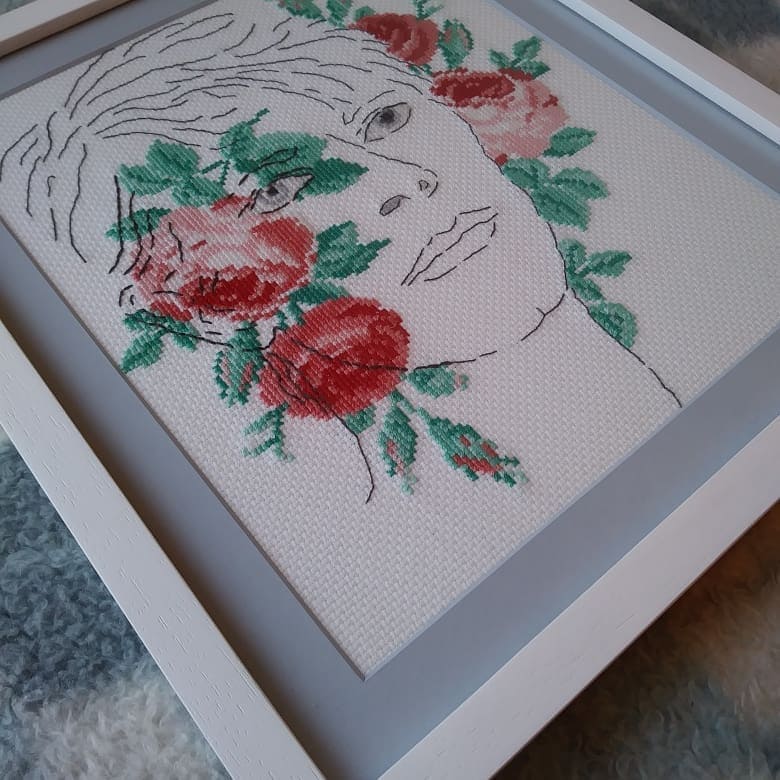
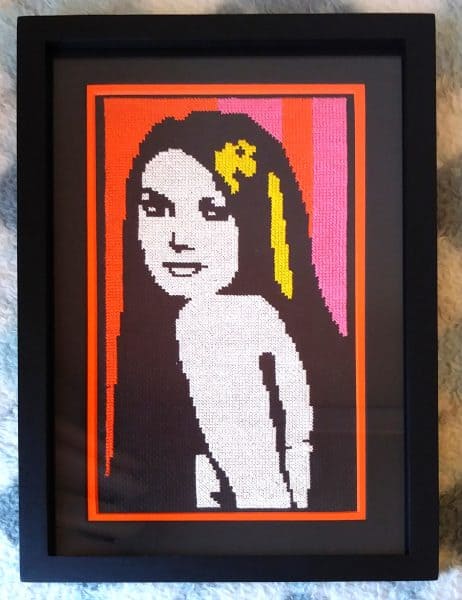
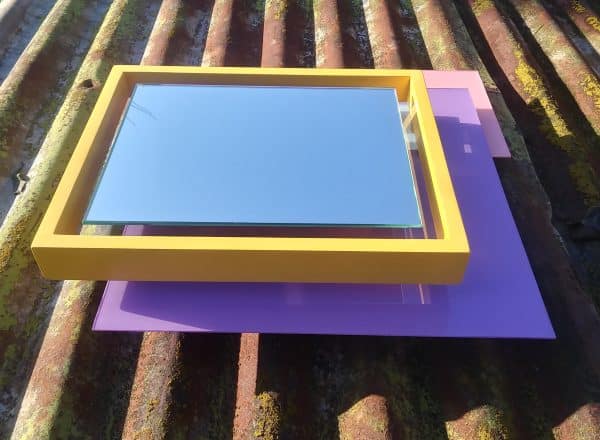
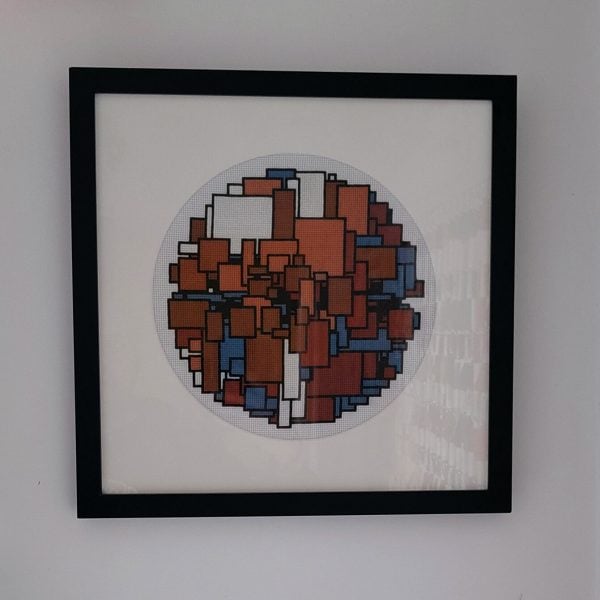
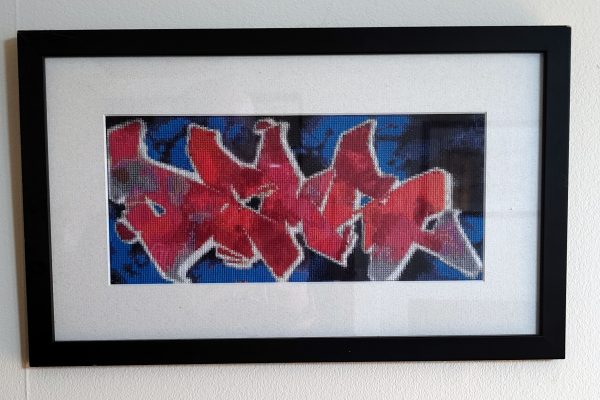
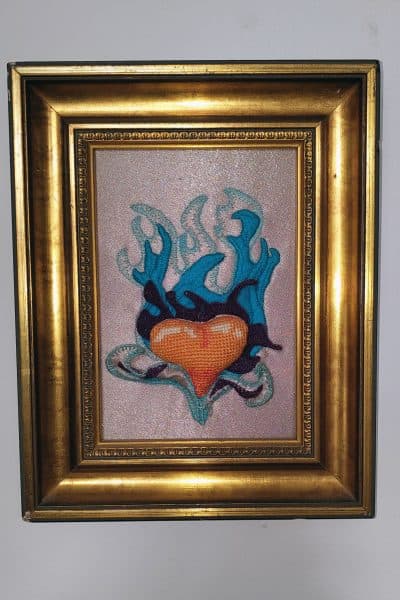
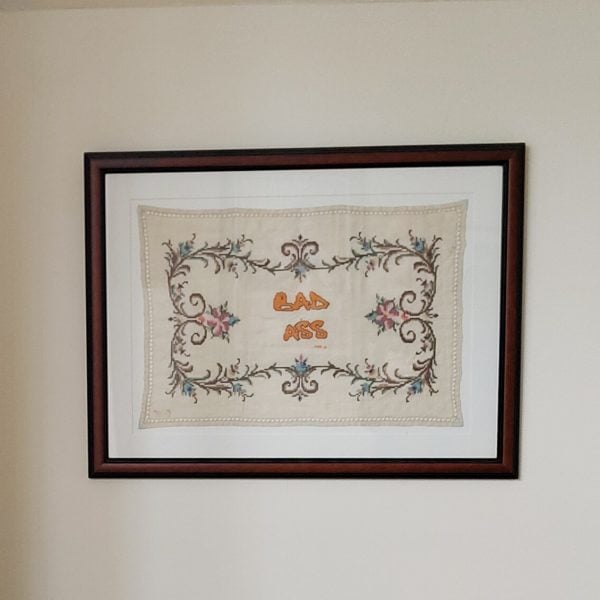
Choosing the Right Frame
The frame you choose for your cross-stitch is much more than a protective border; it’s a statement piece that can elevate your artwork from lovely to extraordinary. Selecting the perfect frame involves a blend of aesthetic judgment and practical considerations.
Let’s explore how to make the best choice for your cross-stitch masterpiece.
Understanding the Impact of Frame Size
- Proportions Matter: The size of the frame should complement the size of your cross-stitch. Too small, and your piece might look cramped; too large, and it might appear lost. A general rule is to allow an additional 2-3 inches on each side of your artwork for the frame and potential matting.
- Visualizing the Finished Piece: Before purchasing a frame, it’s helpful to visualize how your cross-stitch will look in it. Use a measuring tape to gauge the space around your artwork, imagining how it will sit within those dimensions.
Material Choices: Elegance and Durability
- Wooden Frames: Classic and versatile, wooden frames come in a variety of finishes and styles. Whether you prefer a rustic barn wood frame or a sleek, modern design, wood offers warmth and character.
- Metal Frames: For a contemporary look, metal frames are a fantastic choice. They provide clean lines and can complement both modern and traditional cross-stitch designs.
- Eco-Friendly Options: For those conscious about sustainability, there are frames made from recycled materials or sustainable woods. These choices allow you to frame your artwork in a way that aligns with your environmental values.
The Art of Colour Selection
- Complementing Your Artwork: The colour of the frame should enhance your cross-stitch without overpowering it. Neutral colours like black, white, or natural wood are safe bets, but don’t be afraid to choose a colour that highlights a dominant hue in your piece.
- Room Décor Considerations: Think about where the framed piece will hang. The frame should not only complement the cross-stitch but also blend with the room’s décor. A frame that looks great in a cosy, rustic kitchen might not suit a sleek, modern living room.
A Word on Frame Styles
- Traditional vs. Modern: The style of your frame should echo the style of your cross-stitch. A traditional, floral design might call for an ornate, vintage-style frame, whereas a geometric, abstract piece might look best in a simple, modern frame.
- Personal Taste: Ultimately, the choice of frame style is a personal one. It should reflect your taste and the story you want your artwork to tell.
Custom Framing: A Tailored Approach
- When to Consider Custom Framing: If you’re struggling to find the perfect frame off-the-shelf, custom framing is a wonderful option. It allows you to tailor every aspect of the frame to your specific needs and preferences.
- Consulting the Experts: Many art stores offer custom framing services, where experts can advise you on the best materials, sizes, and styles for your cross-stitch.
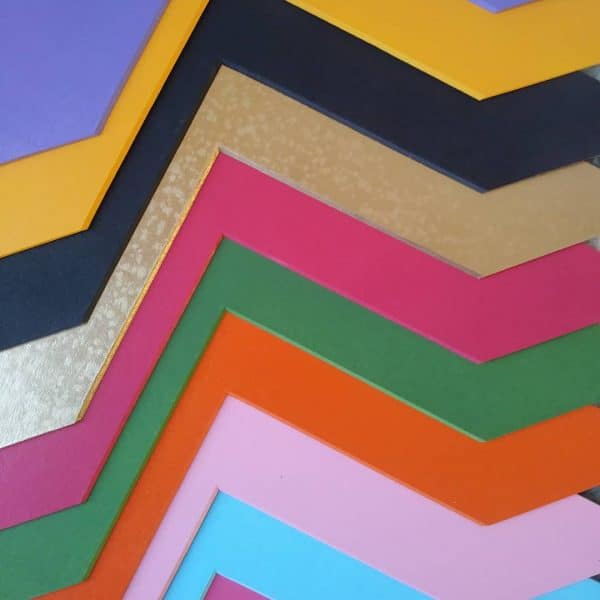
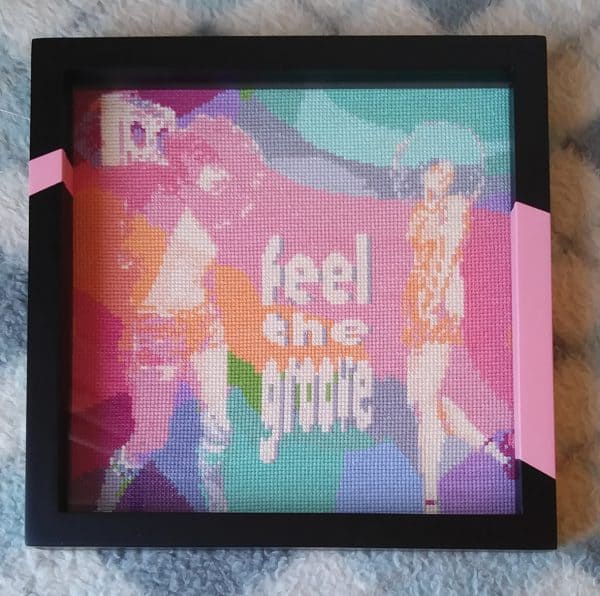
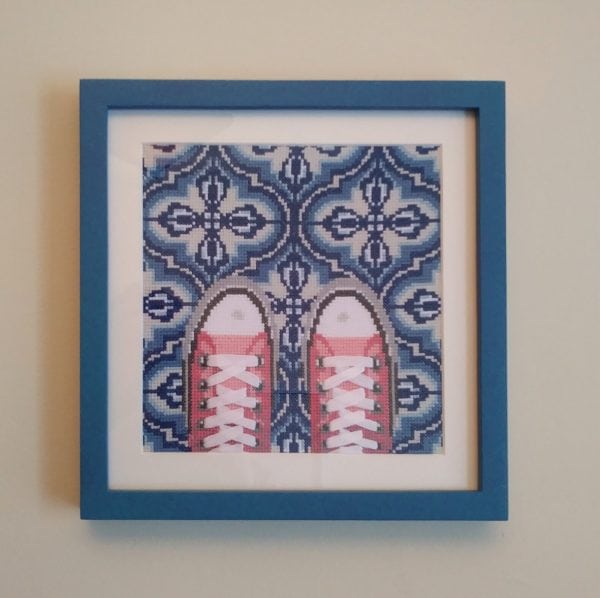
Matting Options
In the world of framing, matting (also known as mounting) refers to the border, typically made from paper or cardboard, that surrounds your artwork inside the frame.
This isn’t just a decorative addition; it plays a crucial role in both the presentation and preservation of your cross-stitch. A mat creates a visual buffer between the artwork and the frame, enhancing the art’s visual appeal and preventing the glass from touching the stitched fabric, which can be crucial for long-term preservation.
Choosing the right mount involves considerations of colour, texture, and size, each contributing to the overall impact of your displayed piece. Let’s explore how to select the perfect mat for your cross-stitch, turning it into a framed masterpiece.
The Role of Colour and Texture in Mounting
- Harmony and Contrast: Selecting the right colour for your mat is a balance between harmony and contrast. The colour should complement your artwork without overshadowing it.
While neutral tones are generally safe, a contrasting colour can bring your artwork to the forefront, drawing attention to the details of your stitch work. - Texture Matters: The texture of the mat can introduce depth and interest. A mat with subtle texture adds sophistication, while a smooth mat can give a clean, modern look.
Choosing the Right Thickness
- Standard vs. Thick Mats: The thickness of the mat can significantly impact the presentation. Standard mats suit most artworks, but a thicker mat can lend a dramatic, gallery-like quality.
- Depth Perception: Thicker mats create a sense of depth, making your cross-stitch appear more pronounced and giving it a polished, professional appearance.
Custom Matting: Perfectly Tailored
- Unique Shapes and Sizes: For cross-stitch pieces that don’t conform to standard sizes or shapes, custom matting is ideal. It allows for mats in unique dimensions, perfectly complementing your artwork.
- Expert Advice: Consulting with framing specialists is advisable for custom matting. They can guide you in choosing matting options that enhance both the aesthetic and longevity of your piece.
Conservation Matting: Protecting Your Art
- Preservation Quality: For valuable or sentimental pieces, consider conservation matting. This type of matting uses acid-free materials, protecting your artwork from harmful elements over time.
- Longevity: Investing in conservation matting ensures the vibrancy and integrity of your cross-stitch for years to come.
Matting as an Artistic Element
- Multiple Mats: Layering multiple mats of different colors can create a dynamic and intriguing look, adding depth and accentuating various colors in your artwork.
- Experimenting with Colors: Be bold in experimenting with mat colors. Sometimes, the most unexpected hues can dramatically enhance the beauty of your piece.
Framing Techniques
Once you have your cross-stitch prepared, a frame chosen, and matting decided upon, the next step is the actual framing. This is where your artwork truly comes together as a display piece. Proper framing not only enhances the visual appeal of your cross-stitch but also ensures its longevity.
Here’s a step-by-step guide to framing your piece with precision and care.
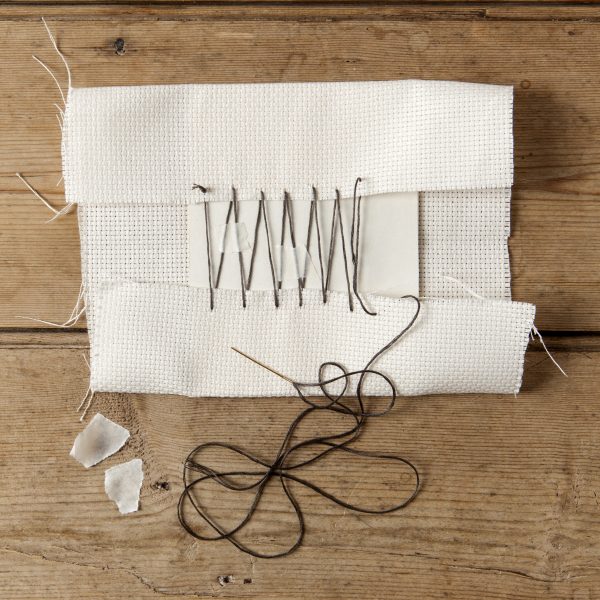
Step 1: Mounting Your Cross Stitch
- Choosing a Mounting Board: Select a mounting board that is acid-free to ensure the longevity of your cross-stitch. The size of the board should match the dimensions of your matted piece.
- Lacing the Fabric: One of the best methods to mount your cross-stitch is by lacing it. This involves aligning your piece on the board and carefully lacing thread through the fabric edges at the back, pulling it taut for a smooth front appearance.
- Using Pins: Alternatively, for a less permanent solution, you can use stainless steel or brass pins to secure the fabric to the mounting board. Pin along the edges in a way that the fabric stays flat and even.
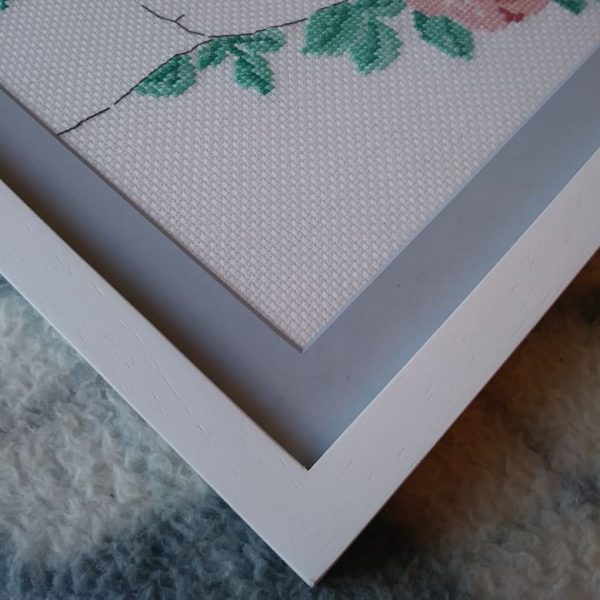
Step 2: Securing the Artwork in the Frame
- Placing the Artwork: Once mounted, place your cross-stitch within the frame, on top of the matting. Make sure it’s centred and looks exactly how you envisioned.
- Securing the Back: Use framing points or small nails to secure the backing of the frame. This holds everything in place but still allows for easy removal if needed in the future.
Step 3: Adding Glass or Acrylic Cover
- Clean the Glass or Acrylic: Before placing the cover over your cross-stitch, ensure it’s clean and free of fingerprints or dust. This is crucial for a clear view of your artwork.
- Gently Place the Cover: Carefully set the glass or acrylic cover onto the frame. If you’re using glass, be mindful of its weight and fragility.
Step 4: Final Touches
- Checking Alignment: Once everything is assembled, check the alignment of your piece within the frame. Make any necessary adjustments to ensure it’s perfectly positioned.
- Adding Hanging Hardware: Attach appropriate hanging hardware to the back of your frame, considering the weight and size of the finished piece.
Tips for a Professional Finish
- Avoid Rushing: Take your time with each step. Rushing can lead to mistakes or a less-than-ideal finish.
- Seek Help if Needed: If you’re unsure about any step, don’t hesitate to seek advice from a professional framer. They can provide tips or even handle the framing for you.
Glass and Acrylic Covers
The final touch to framing your cross-stitch is deciding between glass or acrylic covers. This choice is not just about aesthetics; it’s about protecting your artwork from environmental factors like dust, moisture, and sunlight. Each option has its own set of benefits and considerations.
Let’s delve into what you need to know to make the best choice for your cross-stitch.
Understanding the Difference: Glass vs. Acrylic
- Glass: Traditional and popular, glass offers a clear, classic look. It’s heavier and can break easily, but it provides a high level of clarity and scratch resistance. For pieces displayed in low-traffic areas, glass is an excellent choice.
- Acrylic: Lighter and more durable than glass, acrylic is shatter-resistant, making it ideal for large frames or areas where safety is a concern. While it can scratch more easily than glass, its lightweight nature makes it suitable for wall-hanging frames.
The Importance of UV Protection
- Protecting Colours: Both glass and acrylic options come with UV protection variants. UV rays can fade and damage your cross-stitch over time, so choosing a UV-protective cover is crucial for artworks displayed in well-lit areas.
- Consider the Display Location: Think about where your framed piece will be situated. If it’s in a spot that receives a lot of direct sunlight, a UV-protective cover is a wise investment.
Cleaning and Maintenance
- Cleaning Techniques: Glass can be cleaned with standard glass cleaners, but always spray the cleaner onto a cloth first, not directly on the glass. For acrylic, use a soft, damp cloth and avoid abrasive cleaners or materials that can cause scratches.
- Regular Maintenance: Regularly dust the cover of your framed piece to maintain clarity and visibility. This helps keep both the artwork and the cover in pristine condition.
Making the Right Choice
- Reflecting on Aesthetics: Consider the overall aesthetic you want to achieve. Glass tends to have a more traditional look, while acrylic offers a modern, lightweight feel.
- Budget Considerations: Typically, acrylic is more expensive than glass, but its durability and lightweight properties might justify the cost in many scenarios.
A Note on Non-Glare Options
- Reducing Reflections: Both glass and acrylic covers come in non-glare variants, which can be beneficial if your artwork will be displayed in a brightly lit room or opposite large windows.
- Slight Trade-off: Be aware that non-glare options can slightly reduce the clarity of the glass or acrylic, giving a softer view of the artwork.
Caring for Your Framed Cross Stitch
Congratulations! Your cross-stitch is beautifully framed and ready to be admired. But the journey doesn’t end here. Proper care and maintenance are key to ensuring that your framed piece stays as stunning as the day you framed it.
Here’s how to keep your framed cross-stitch in top condition for years to come.
Regular Cleaning is Essential
- Dusting: Regular dusting with a soft, dry cloth is essential. Gently wipe the frame and the glass or acrylic cover to keep it clear and bright.
- Avoiding Moisture: When cleaning the frame or glass, avoid using too much moisture, which could seep into the frame and damage the fabric.
Protecting from Environmental Damage
- Sunlight: Prolonged exposure to direct sunlight can fade the colours of your cross-stitch. Consider hanging your piece in a spot that doesn’t get direct sunlight, or use UV-protective glass to minimize the risk of fading.
- Humidity: High humidity can also be detrimental. It’s best to avoid hanging your artwork in damp areas like bathrooms or kitchens. If you live in a humid climate, consider using a dehumidifier in the room where your artwork is displayed.
Checking and Maintenance
- Regular Checks: Periodically inspect your frame and the area around it for signs of wear or damage. This is especially important for frames in high-traffic areas.
- Professional Cleaning: If your framed piece needs more than just a light dusting, consider taking it to a professional. They can clean it thoroughly without risking damage to the artwork.
Handling and Moving Your Framed Piece
- Careful Handling: When moving your framed piece, always hold it by the frame, not the glass or acrylic cover.
- Transporting: If you need to transport your artwork, cover it with a soft cloth or bubble wrap to protect the frame and the cover.
Long-term Preservation
- Rotating Displays: If you have multiple framed pieces, consider rotating them in your display. This not only refreshes your décor but also reduces the risk of any one piece being exposed to harmful conditions for too long.
- Seeking Expert Help for Repairs: If the frame or glass becomes damaged, consult a professional for repair. Attempting to fix it yourself could result in further damage to the artwork.
Conclusion: Preserving Beauty, One Stitch at a Time
In this comprehensive guide, we’ve journeyed through the meticulous process of framing cross-stitch art, from the initial preparation of your treasured piece to the final touches that ensure its longevity.
Whether you’re a seasoned stitcher or new to the world of needlecraft, the art of framing is an essential skill that elevates your work from a simple craft to a preserved masterpiece.
Framing is more than just an aesthetic choice; it’s a commitment to protecting and showcasing your hard work. By selecting the right frame, matting, and cover, and by following the best practices for maintenance, your cross-stitch can be transformed into a timeless art piece that captures attention and admiration.
Remember, each cross-stitch piece tells a unique story — your story. The care and thought you put into framing it not only preserve its physical beauty but also the hours of dedication and passion embedded in every stitch. So, take your time, choose wisely, and create a display that does justice to your needlework artistry.
As you hang your beautifully framed piece, know that it’s not just a decoration, but a personal legacy — a testament to the patience, skill, and creativity that define the art of cross-stitch.
Share this guide with fellow enthusiasts, and let’s continue to celebrate the timeless art of cross-stitch, one framed piece at a time.

