

Have you ever found yourself ready to embark on an exciting new needlecraft project, only to be halted by the seemingly simple task of threading your needle? It’s a scenario many of us are all too familiar with.
You cut your thread, align it with the eye of the needle, and just when you think you’re set to start, the thread decides to play a game of ‘tangle and frustrate.’ Threading a needle can be surprisingly tricky, leading to knots, frays, and yes, a bit of impatience.
But fear not, craft enthusiasts! This post is dedicated to demystifying the art of threading a needle smoothly and efficiently. From choosing the right thread to mastering the perfect threading technique, we will explore practical tips and tricks to ensure your thread glides through your needle’s eye with ease.
Say goodbye to the tangled woes and hello to a seamless start to your needlecraft projects.
Understanding the Causes of Tangle
Before we dive into solutions, it’s important to understand why threads often tangle when we least expect them to. Knowledge is power, and in this case, it’s the key to frustration-free needle threading.
Thread Quality:
Not all threads are created equal. Lower-quality threads tend to be more prone to fraying and tangling. These threads may lack the smooth finish of higher-quality options, making them more susceptible to snagging and knotting.
Thread Length:
Longer threads may seem convenient for reducing the frequency of re-threading your needle, but they’re also more likely to tangle. As the thread passes through the fabric, its length can lead to twists and knots, especially if you’re working with a particularly long piece.
Threading Technique:
How you thread your needle can also contribute to tangling. Rushing the process, not aligning the thread properly, or using a damaged needle can all lead to unnecessary frustration.
Understanding these common culprits can help you take the first steps towards smoother threading. Up next, we’ll look at how to select the right thread and prepare it for threading, setting you up for success right from the start.
Choosing the Right Thread and Preparing It for Threading
The journey to hassle-free needle threading begins with selecting the right thread and preparing it properly. Here’s how you can set yourself up for success:
Selecting the Right Thread:
Material Matters:
Depending on your project, the choice of thread material can vary. Cotton, polyester, silk, or specialty threads each have their unique properties. For general sewing, a good quality polyester thread is durable and less prone to tangling.
Thread Weight and Size:
Consider the weight and size of the thread in relation to the needle’s eye. A mismatch can lead to difficulties in threading and increased tangling.

Preparing the Thread:
Cutting the Thread:
Use sharp scissors to cut your thread at a 45-degree angle. This creates a pointed end, making it easier to pass through the needle’s eye.
Using a Needle Threader:
If threading is still a challenge, a needle threader can be a handy tool. It simplifies the process, especially for those with visual impairments or fine motor skill difficulties.
Conditioning the Thread:
Lightly running your thread through beeswax or a thread conditioner can significantly reduce friction and tangling. This step is particularly helpful for longer threads and when working with natural fibers like cotton.
By choosing the right thread for your project and preparing it properly, you’re well on your way to threading your needle with ease. In the following section, we’ll explore various threading techniques to help you find the method that works best for you.
Threading Techniques
Now that we’ve selected and prepared our thread, it’s time to tackle the main event: threading the needle. Here are some effective techniques to try:
The Traditional Method:
- Step 1: Hold the needle in one hand and the thread in the other.
- Step 2: Moisten the tip of the thread slightly with your lips to stiffen it, making it easier to pass through the needle’s eye.
- Step 3: Steadily bring the thread to the needle’s eye and gently push it through.
The Pinch and Poke Method:
- Step 1: Hold the thread between your thumb and forefinger, leaving only a small portion (about a centimeter) extending beyond your fingers.
- Step 2: Bring the needle to the thread (not the thread to the needle) and carefully poke the eye of the needle over the thread.
- Step 3: Once the thread is through the needle’s eye, pull it through.
Using a Threader:
- Step 1: Insert the wire loop of the needle threader through the eye of the needle.
- Step 2: Thread the string through the wire loop of the threader.
- Step 3: Gently pull the threader back through the needle, bringing the thread with it.
Each of these methods has its own advantages, and you might find one easier than the others based on your skill level, eyesight, or personal preference. Practice them to discover which technique works best for you.
Troubleshooting Common Threading Issues
Even with the best techniques, threading a needle can sometimes present challenges. Here are some common issues and how to resolve them:
Fraying Thread:
- Cause: Fraying often occurs with lower quality threads or when the thread is cut bluntly.
- Solution: Ensure you’re using sharp scissors to cut the thread. If fraying persists, consider switching to a higher quality thread.
Thread Knotting While Threading:
- Cause: This could happen if the thread is too long or handled too much.
- Solution: Use shorter lengths of thread. If you’re working on a large project, it may be worth re-threading more frequently to avoid this issue.
Difficulty Seeing the Needle’s Eye:
- Cause: Small needle eyes can be challenging, especially in poor lighting or for those with visual impairments.
- Solution: Use a needle threader or opt for needles with larger eyes. Ensure you have good lighting, and try magnifying tools if necessary.
Thread Not Staying in the Needle:
- Cause: This can occur if the thread is too slippery or the end is not stiff enough.
- Solution: Try waxing the thread or moistening the end slightly to stiffen it.
Remember, like any skill, threading a needle can take practice and patience. Don’t be discouraged by initial setbacks. With each attempt, you’re honing a valuable skill in your needlecraft toolkit.


[…] was the go-to thread for adding a subtle metallic effect to designs. However, this thin-as-tinsel thread that you combined with floss in the same needle was kind of […]
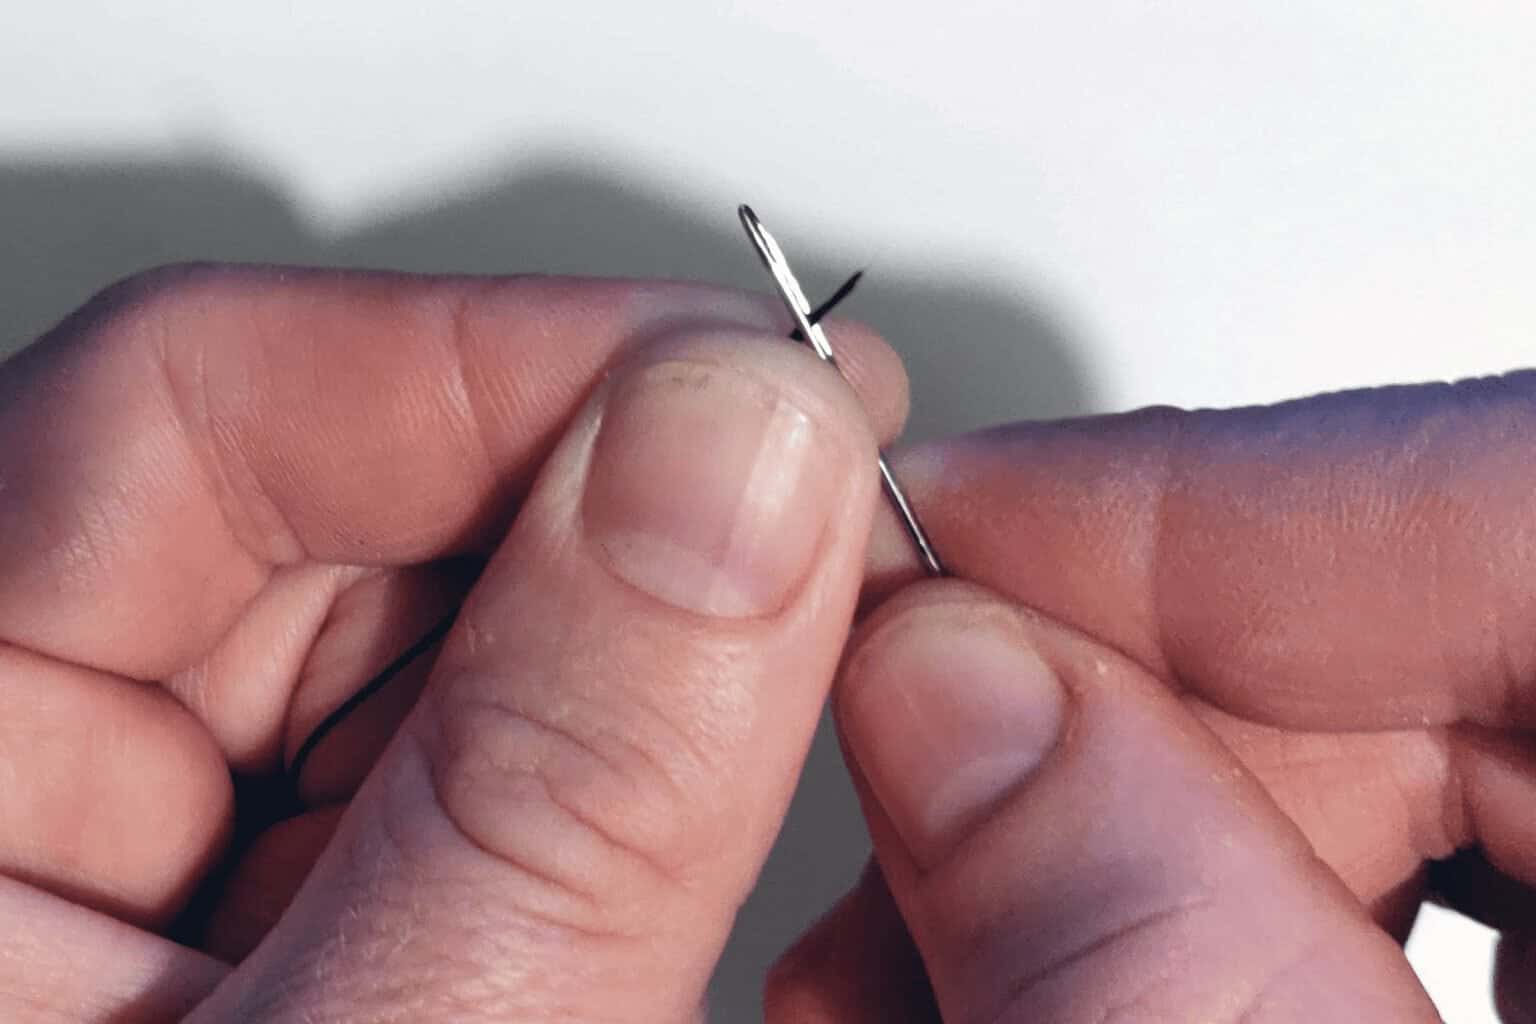
[…] moments and frustration. Especially when working with multiple strands of embroidery floss, threading needles can become a cumbersome […]
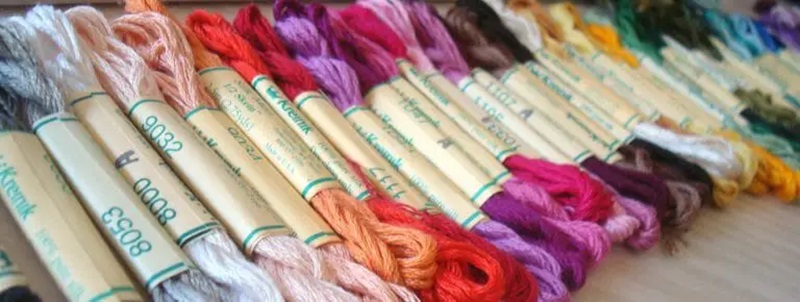
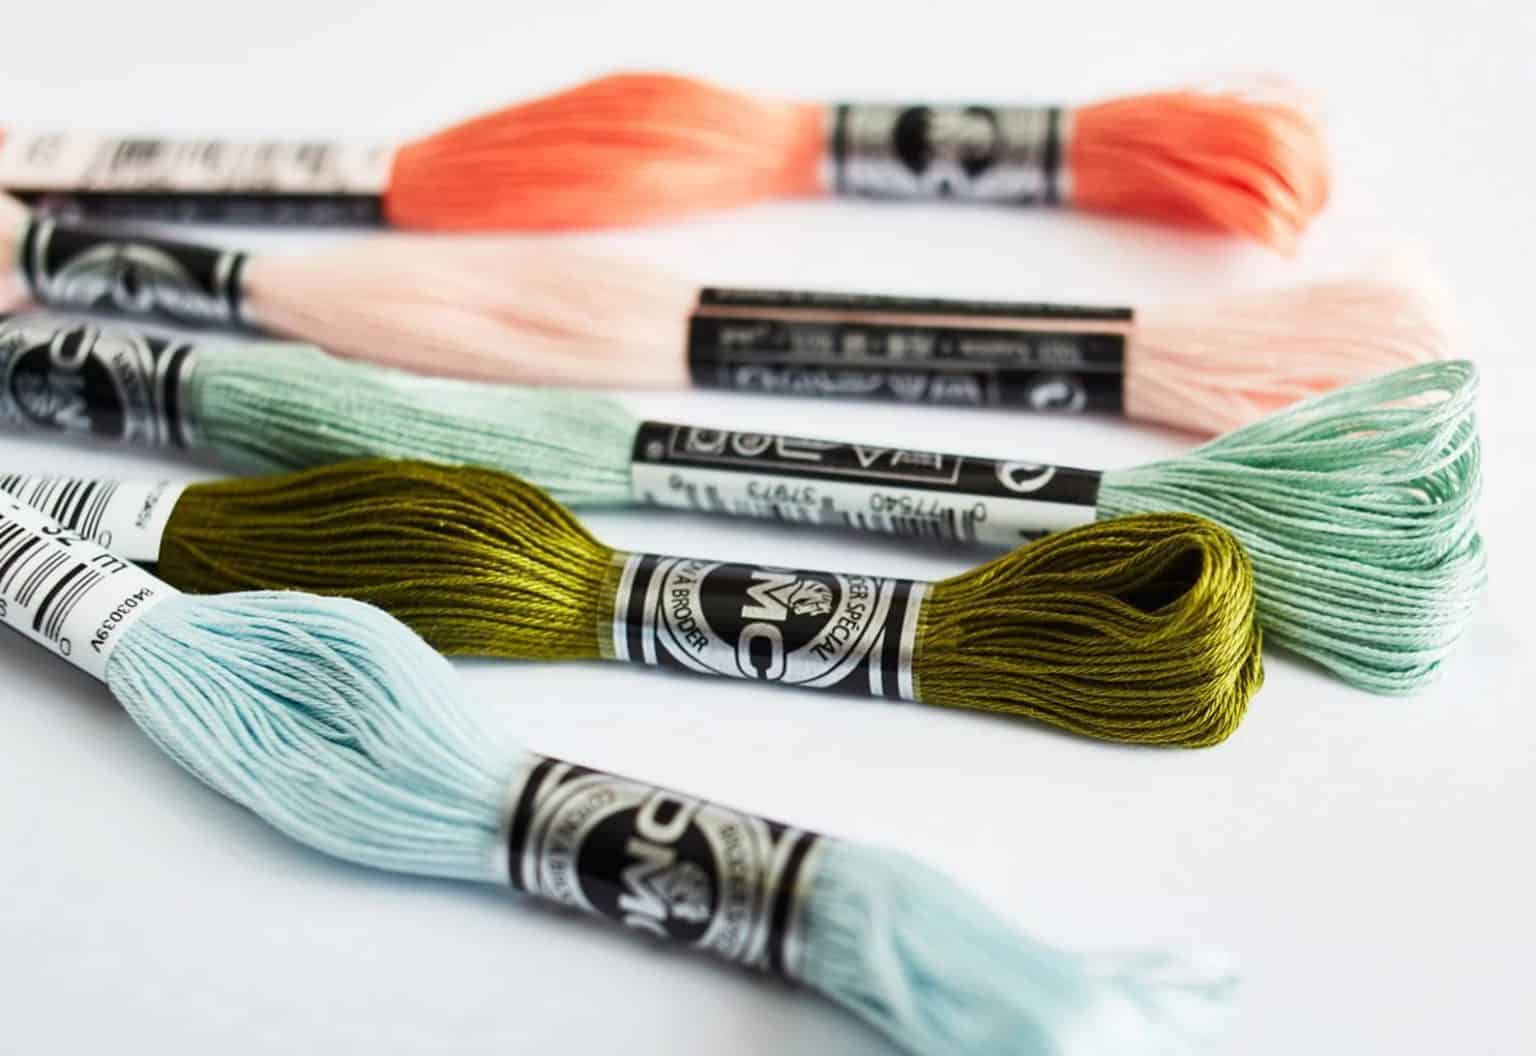
[…] Strand Separation: Embroidery floss usually consists of six strands twisted together. For most cross-stitch patterns, you’ll use two strands. Gently separate the strands and recombine them to achieve the desired thickness. Need help threading a needle – we’ve got you covered! […]