
Embarking on a cross-stitch journey brings its share of questions, and one of the most intriguing is the use of metallic threads. These shimmering strands can transform your work, and I’m here to guide you through the essentials of working with them. Let’s dive into the sparkling world of metallic threads with these essential tips:
Table of Contents
Have no fear, for I will unpack these tips for you now!
The realm of cross-stitch is ever-evolving, inviting stitchers to explore a variety of threads and fabrics, mirroring the rich tapestry of life itself. Why limit your creative expression to the conventional when you can add dimensions to your work? Incorporating elements like French Knots, glow-in-the-dark threads, or even stitching on unconventional materials like wood and metal, elevates your craft into a standout art form.
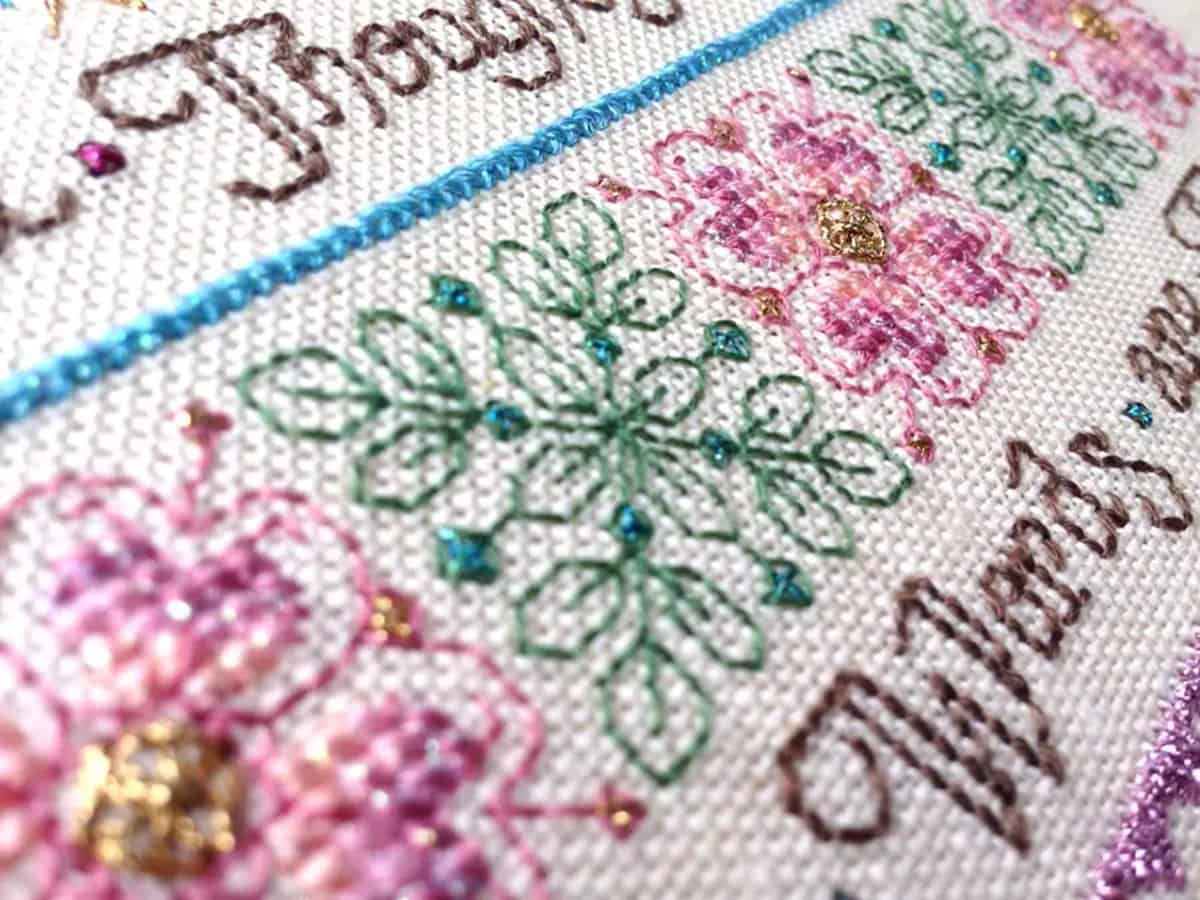
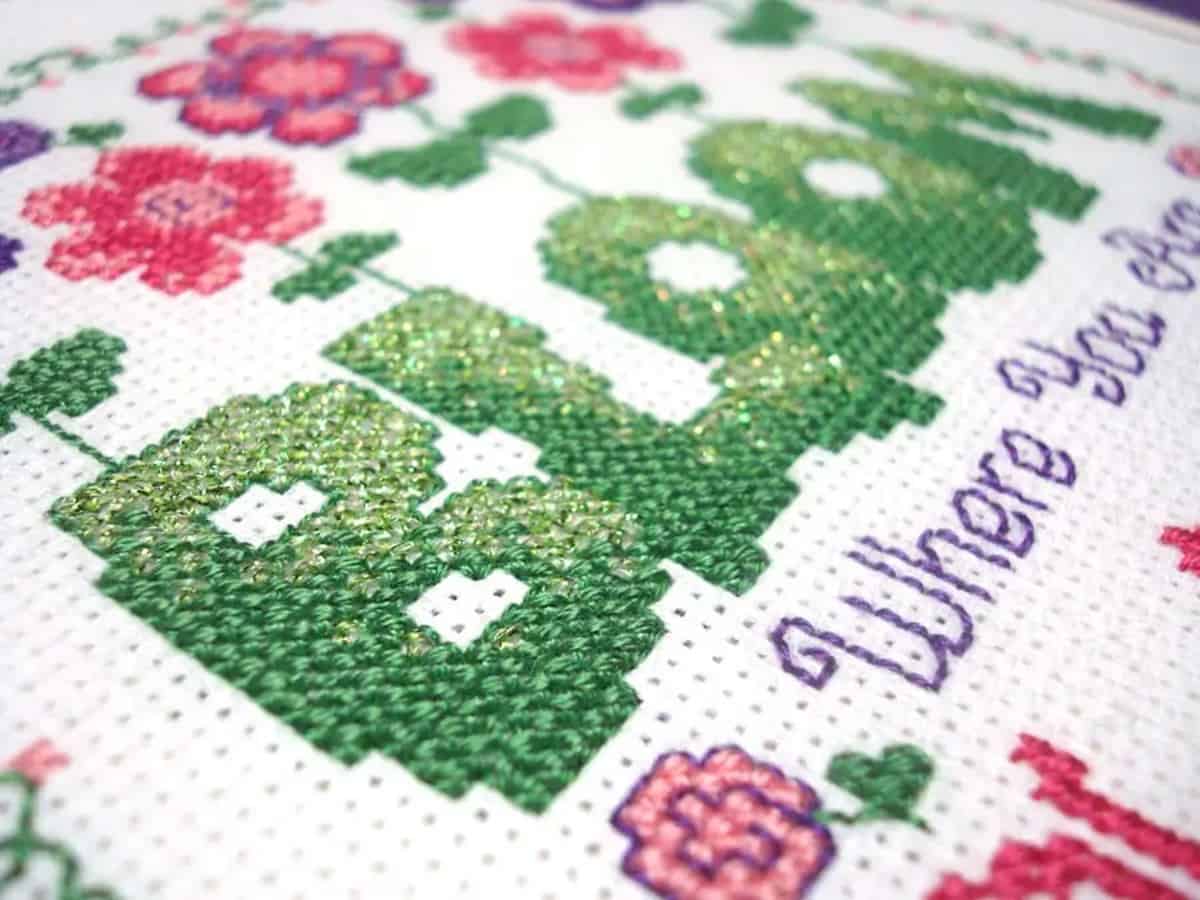
Embrace the luminescence of metallic threads (pun intended). When intertwined with classic materials like cotton, silk, or wool floss, metallic threads introduce a new dimension of colour, texture, and light. They have the unique ability to highlight specific areas of your design, akin to accentuating words with a bold font in a sea of plain text.
This interplay of materials can transform your work from a simple design into a captivating visual story.
Before we dig into our top tips, we must start with this mantra: Metallic threads aren’t difficult, they are just different.
Choosing the Ideal Metallic Thread
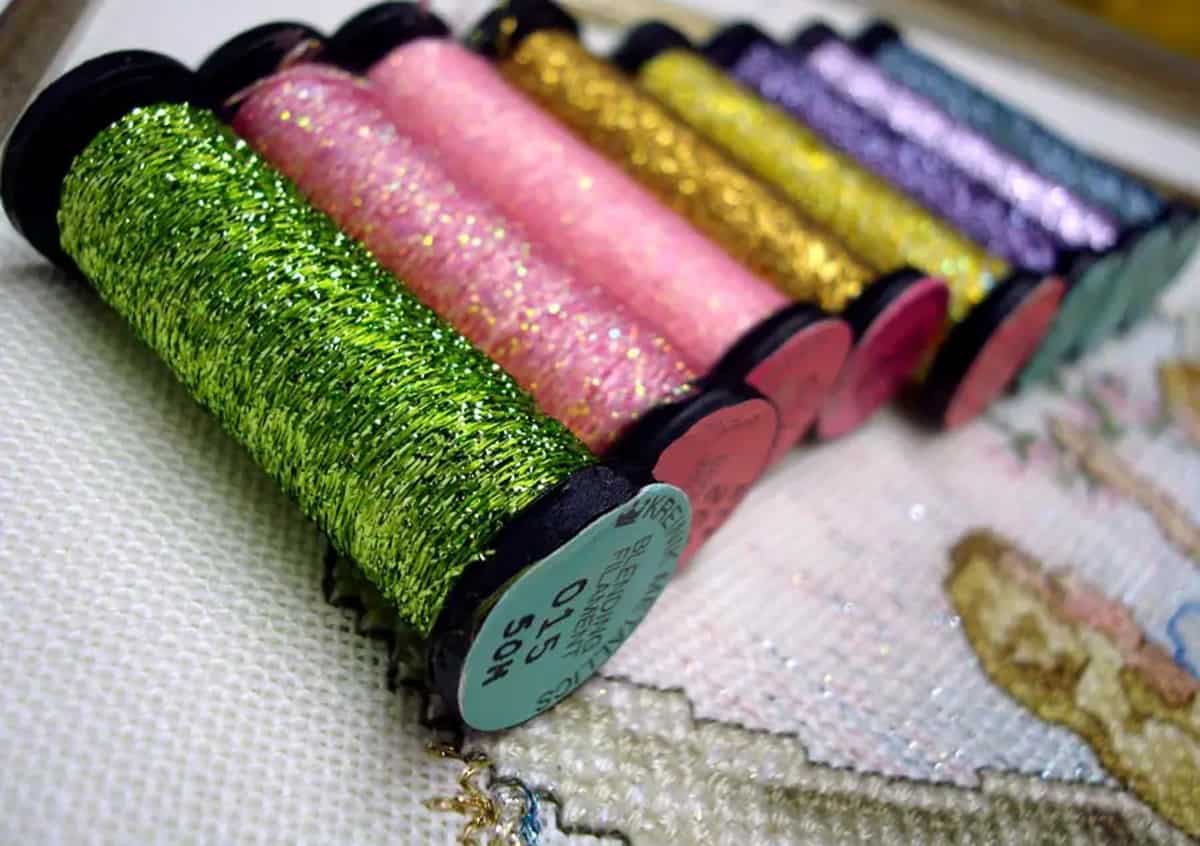
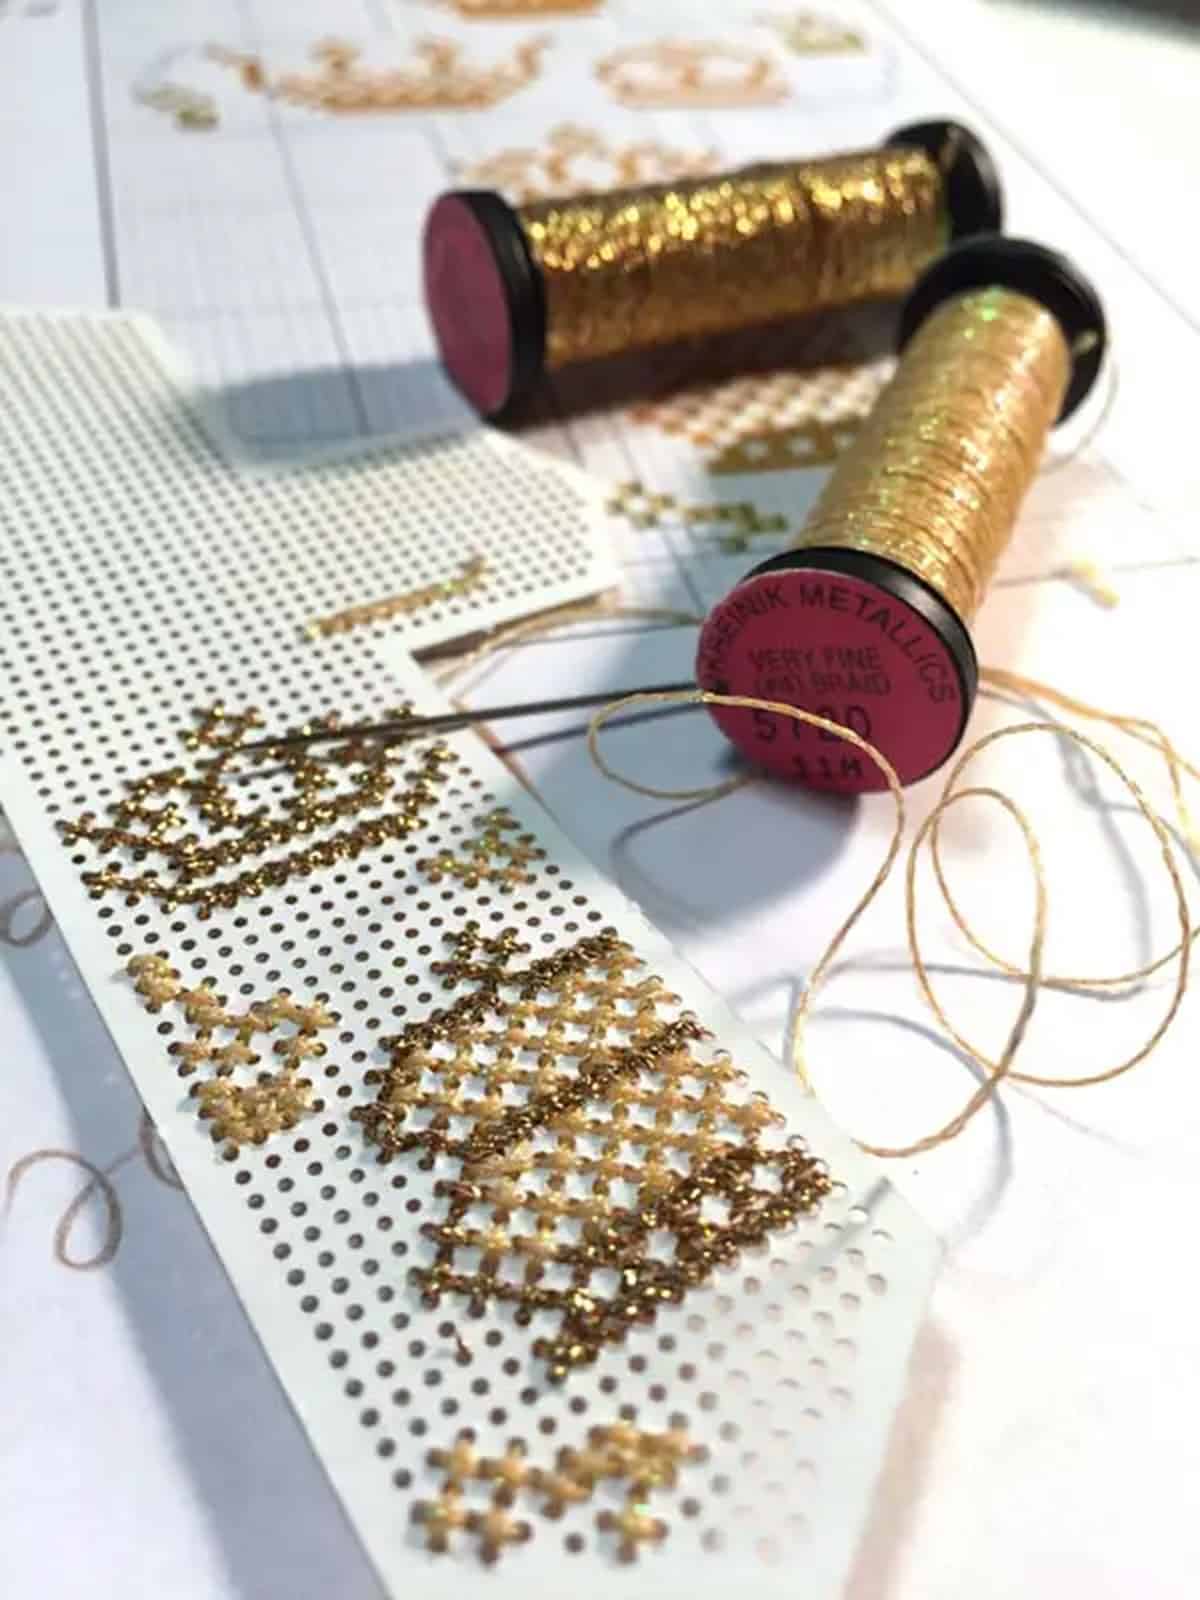
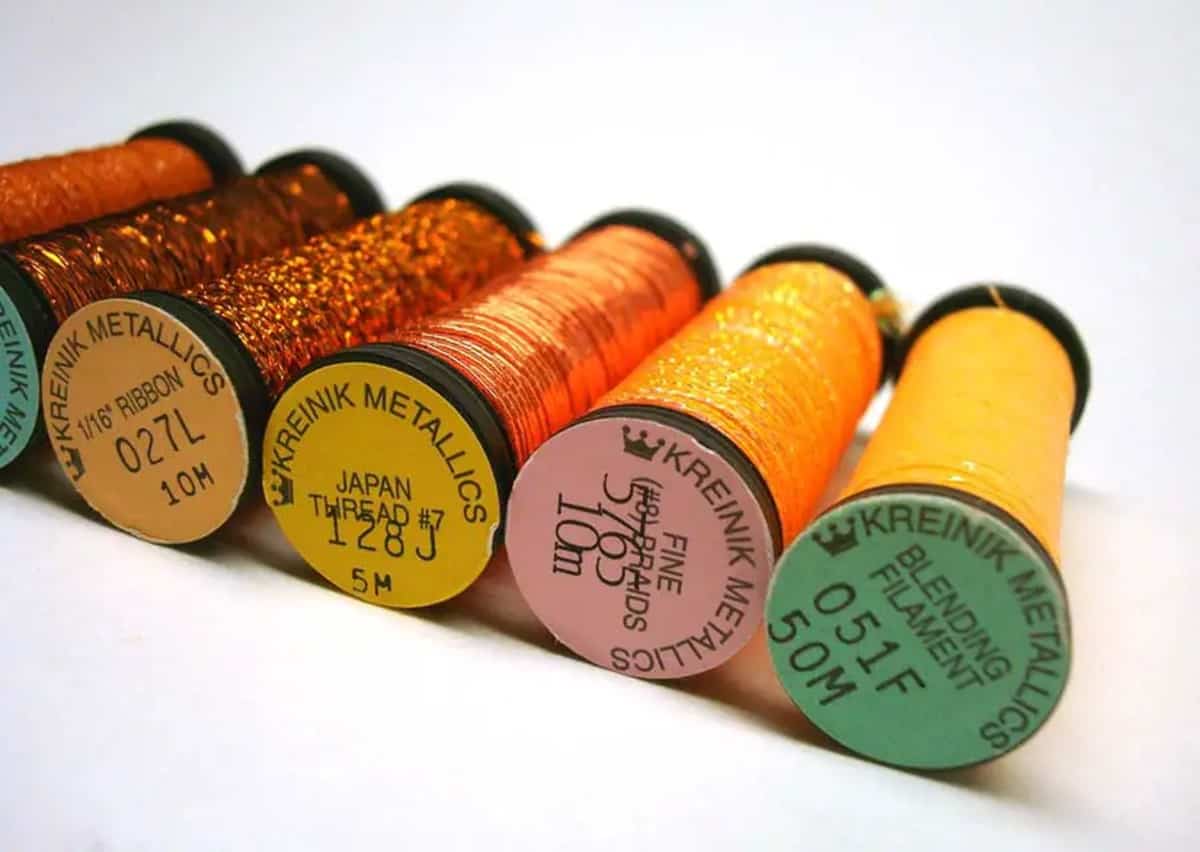
First and foremost, picking the right thread is crucial. While Kreinik’s Blending Filament offers a subtle shimmer, it can be challenging for beginners due to its unique combination of fibers. I recommend starting with Kreinik Fine #8 Braid for 14-count Aida or Very Fine #4 Braid for 16-count Aida. These braids offer simplicity and elegance, allowing for easy stitching without compromising on the metallic luster.
With Braids, you just cut about a 15- to 18-inch length, put it in your needle, and go. Don’t use more than one strand in your needle; if you want thicker or thinner coverage, just go to a different sized Braid. These threads are meant to be simple.
Understanding and Feeling Your Threads
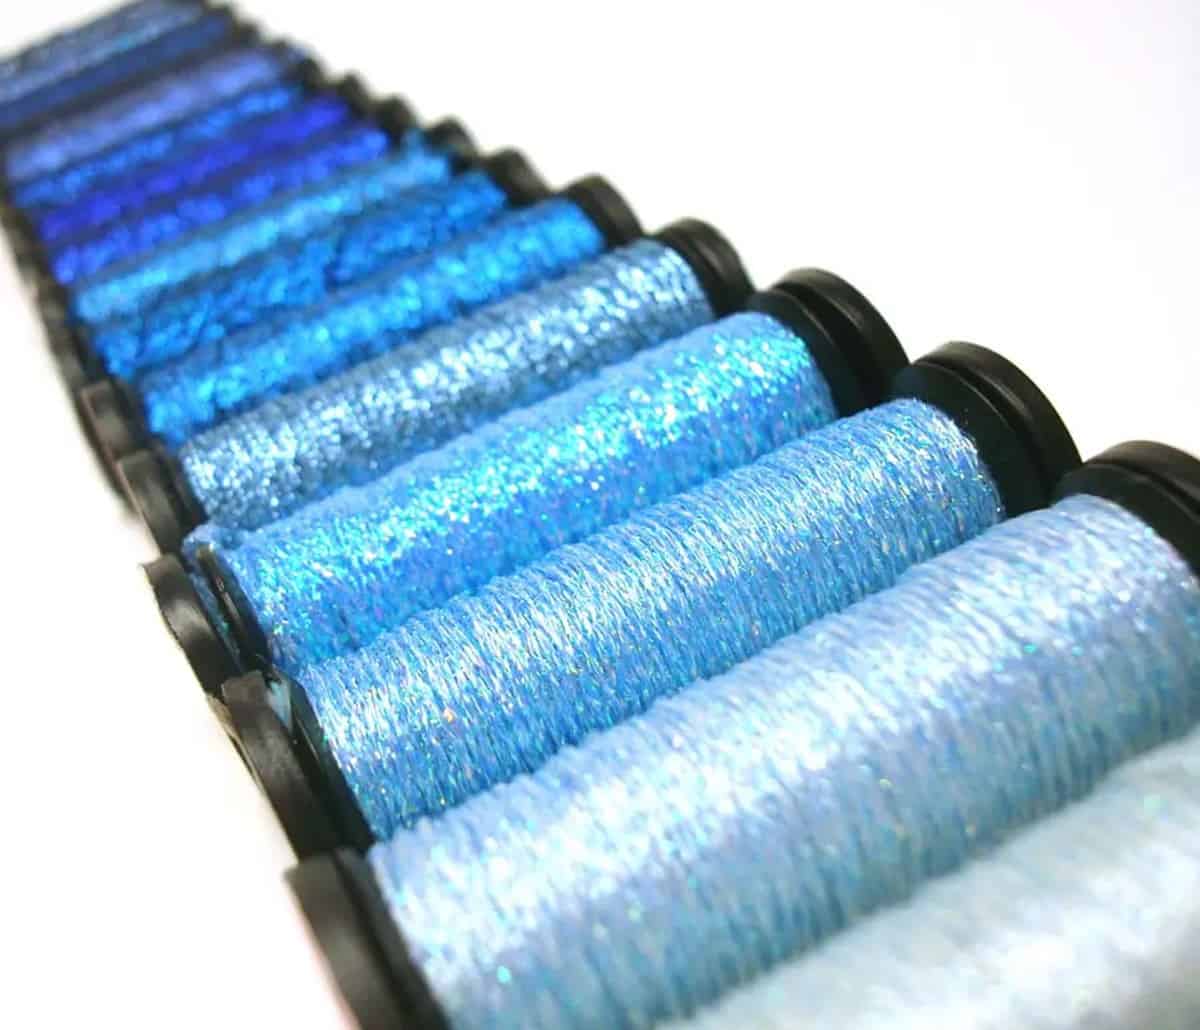
Metallic threads, much like the diversity of life, come in various textures and materials. From polyester to nylon and even real metal, each has its unique feel and stitching experience.
Some metallics have polyester in them, some nylon, some even have real metal. Reflective threads are usually made of tiny glass beads. Some metallics can be wiry, some stiff, some soft, some fuzzy, some smooth, all depending on what they are made of and what effect they create. Some threads are cheap, and they will feel and act that way.
For beginners, softer and smoother threads from Kreinik’s basic colour range are ideal. Remember, the feel of the thread can greatly influence your stitching technique.
Don’t be afraid to try a thread conditioner, like Threadjoy, as a way of smoothing the process as well.
Mindful Stitching with Metallics
Embrace the uniqueness of metallic threads with a calm and focused approach. Unlike cotton floss, metallics demand a deliberate and slower stitching method.
While this might seem like a hinderance, the joy of stitching really comes from the process, and taking time to carefully place your stitches is something that you really can learn to love.
What’s more, rushing stitches in metallic thread increases the risk of damaging the thread, or disrupting the smooth layer of stitches, so it can often be more efficient to take your time and take care.
Selecting the Perfect Needle for Metallic Threads
Never underestimate the power of the right needle in your cross-stitch arsenal. A suitable needle can make all the difference, reducing thread fraying and easing the threading process. Many find coated needles or the specially designed Kreinik Needle to be excellent choices for working with metallic threads.
You can find out all about needles in our dedicated post to this pointy topic!
Managing Thread Length for Optimal Use
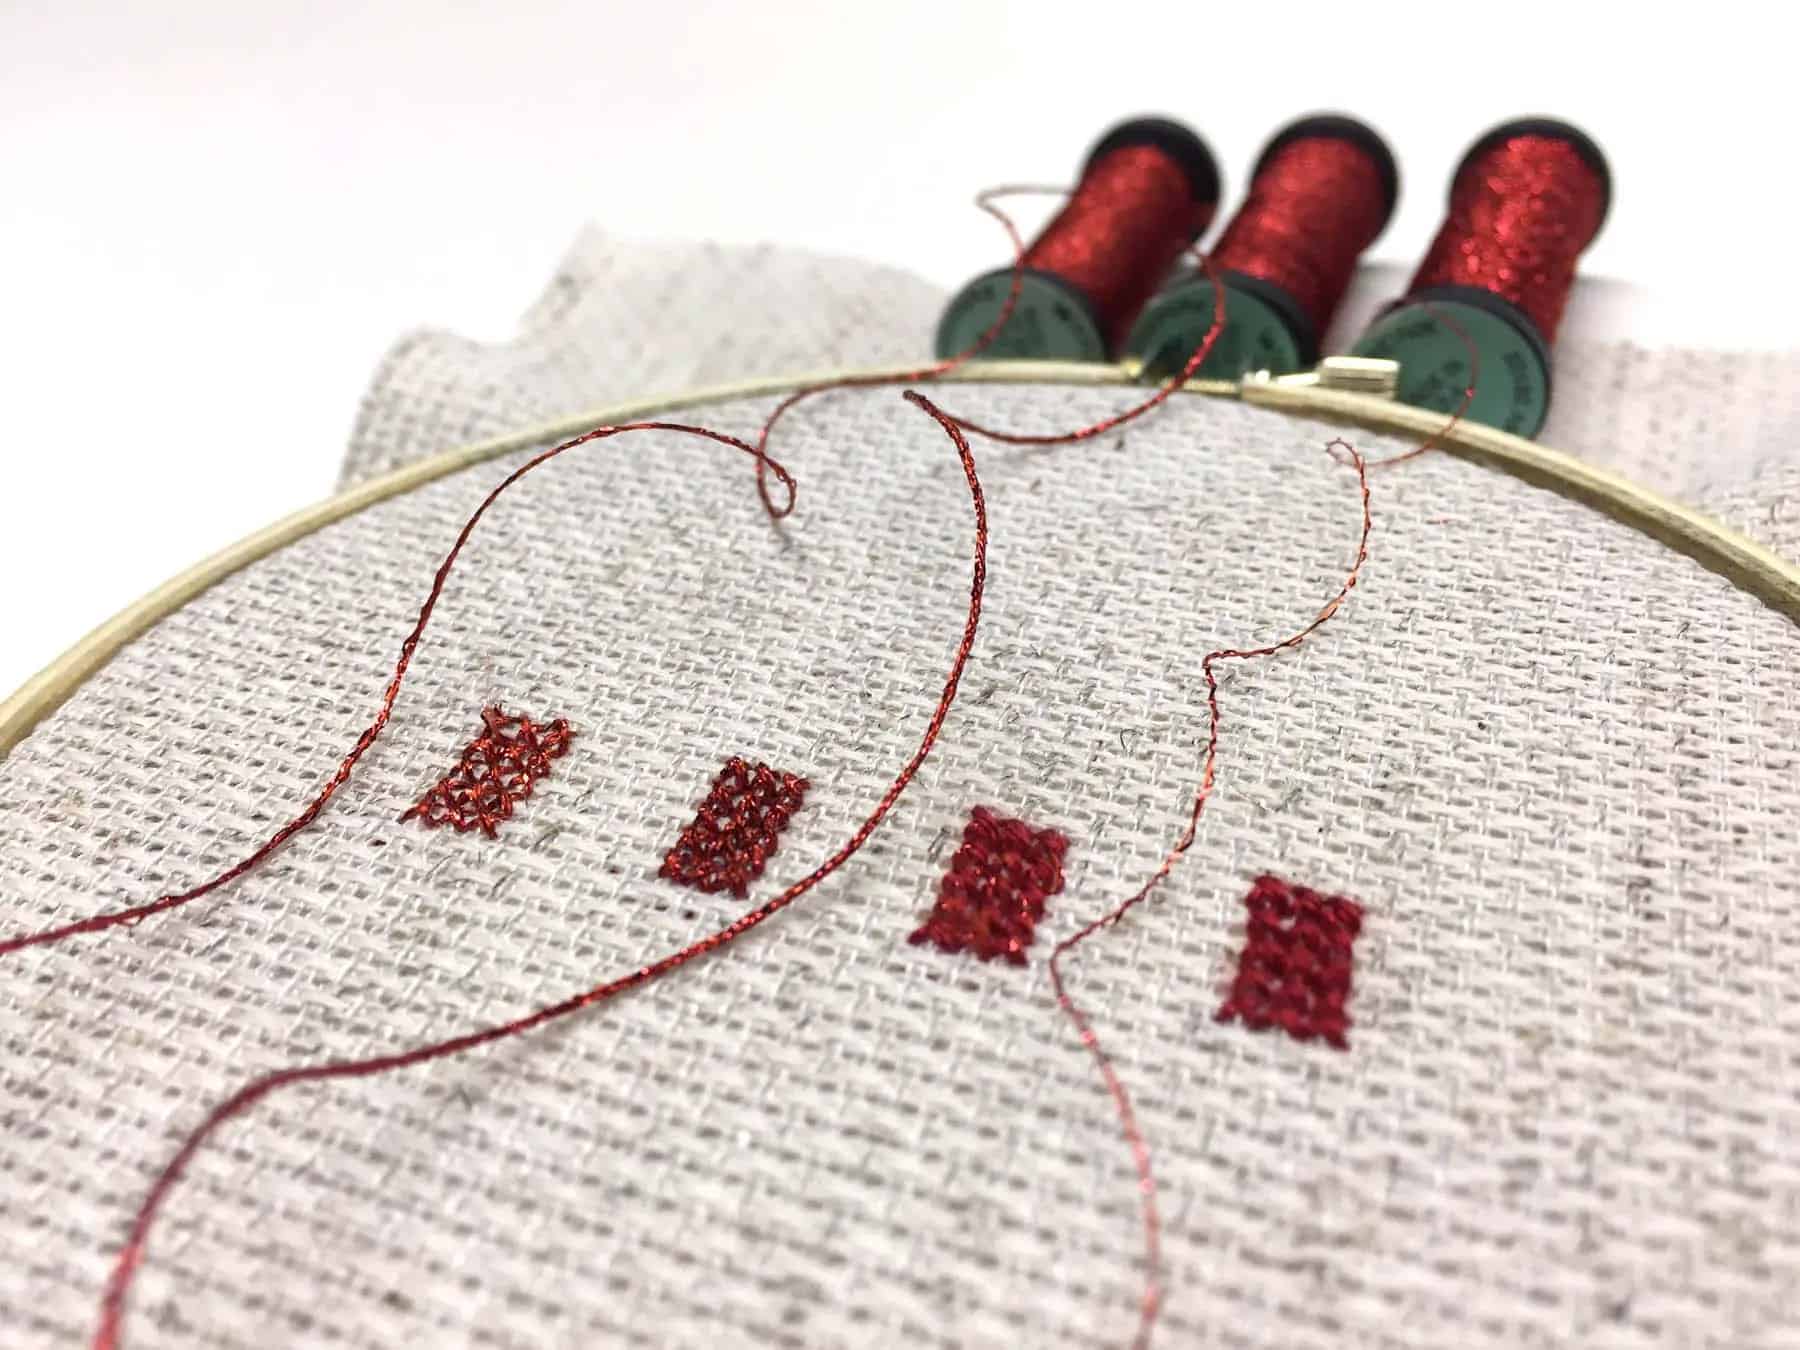
An important aspect often overlooked in metallic thread stitching is managing the thread length. Metallic threads are more susceptible to fraying and tangling compared to traditional cotton floss.
Keep your thread lengths manageable, around 15 to 18 inches, and allow yourself to be mesmerized by the way these threads add a stunning visual dimension to your work.
This is a great tip in general as shorter lengths of thread minimise the risk of surprise knots on the back of your work.
Mastering Thread Path Control
Efficient thread path control is key to maintaining the lustre of metallic threads. It’s essential to minimize the distance your thread travels across the fabric’s backside. This practice prevents unnecessary wear and tear, preserving the metallic thread’s gleam.
By strategically planning your stitching path, you can enhance the longevity and brilliance of your work.
Exploring Layering Techniques
Layering is a creative way to utilize metallic threads to their fullest potential. By layering metallic threads over standard embroidery floss, you can introduce a captivating depth and texture to your designs. This technique opens up a world of creative possibilities, allowing you to experiment with light, shadow, and texture in your cross-stitch masterpieces.
Combining Colours and Textures for Visual Impact
Unleash your creativity by combining different colours and types of metallic threads. Mixing shiny metallics with matte finishes can create an understated yet sophisticated effect. Experiment with various combinations to discover how the interplay of different textures and hues can bring a unique dynamism to your artwork.
Needle Threading Tips for Metallic Threads
Threading metallic threads can be a delicate task. A needle threader is a valuable tool in this regard, but if you don’t have one, try flattening the thread end between your fingers before threading. This simple trick can make the process smoother, reducing frustration and ensuring a seamless start to your stitching session.
Adjusting Stitches for Optimal Effect
Adjusting the tightness of your stitches is particularly crucial when working with metallic threads. Unlike cotton floss, metallic threads can curl or kink if stitched too tightly. Aim for a slightly looser stitch, which allows the thread to lie flat and display its full sheen, enhancing the overall aesthetic of your work.
Proper Storage and Care of Metallic Threads
Proper storage and care of metallic threads are essential for maintaining their quality. Store these threads in a cool, dry place, away from direct sunlight and humidity. This precaution helps prevent tangling and degradation, ensuring that your metallic threads are always ready to add sparkle and elegance to your projects.
If you want to know more about cross stitch storage, we’re here to help!
Starting with Simple Projects
If you are new to using metallic threads, beginning with simple projects can build confidence and skill. Consider starting with designs that use metallics as highlights rather than the main element. This approach allows you to get comfortable with the material’s properties before moving on to more complex designs that feature metallics prominently.
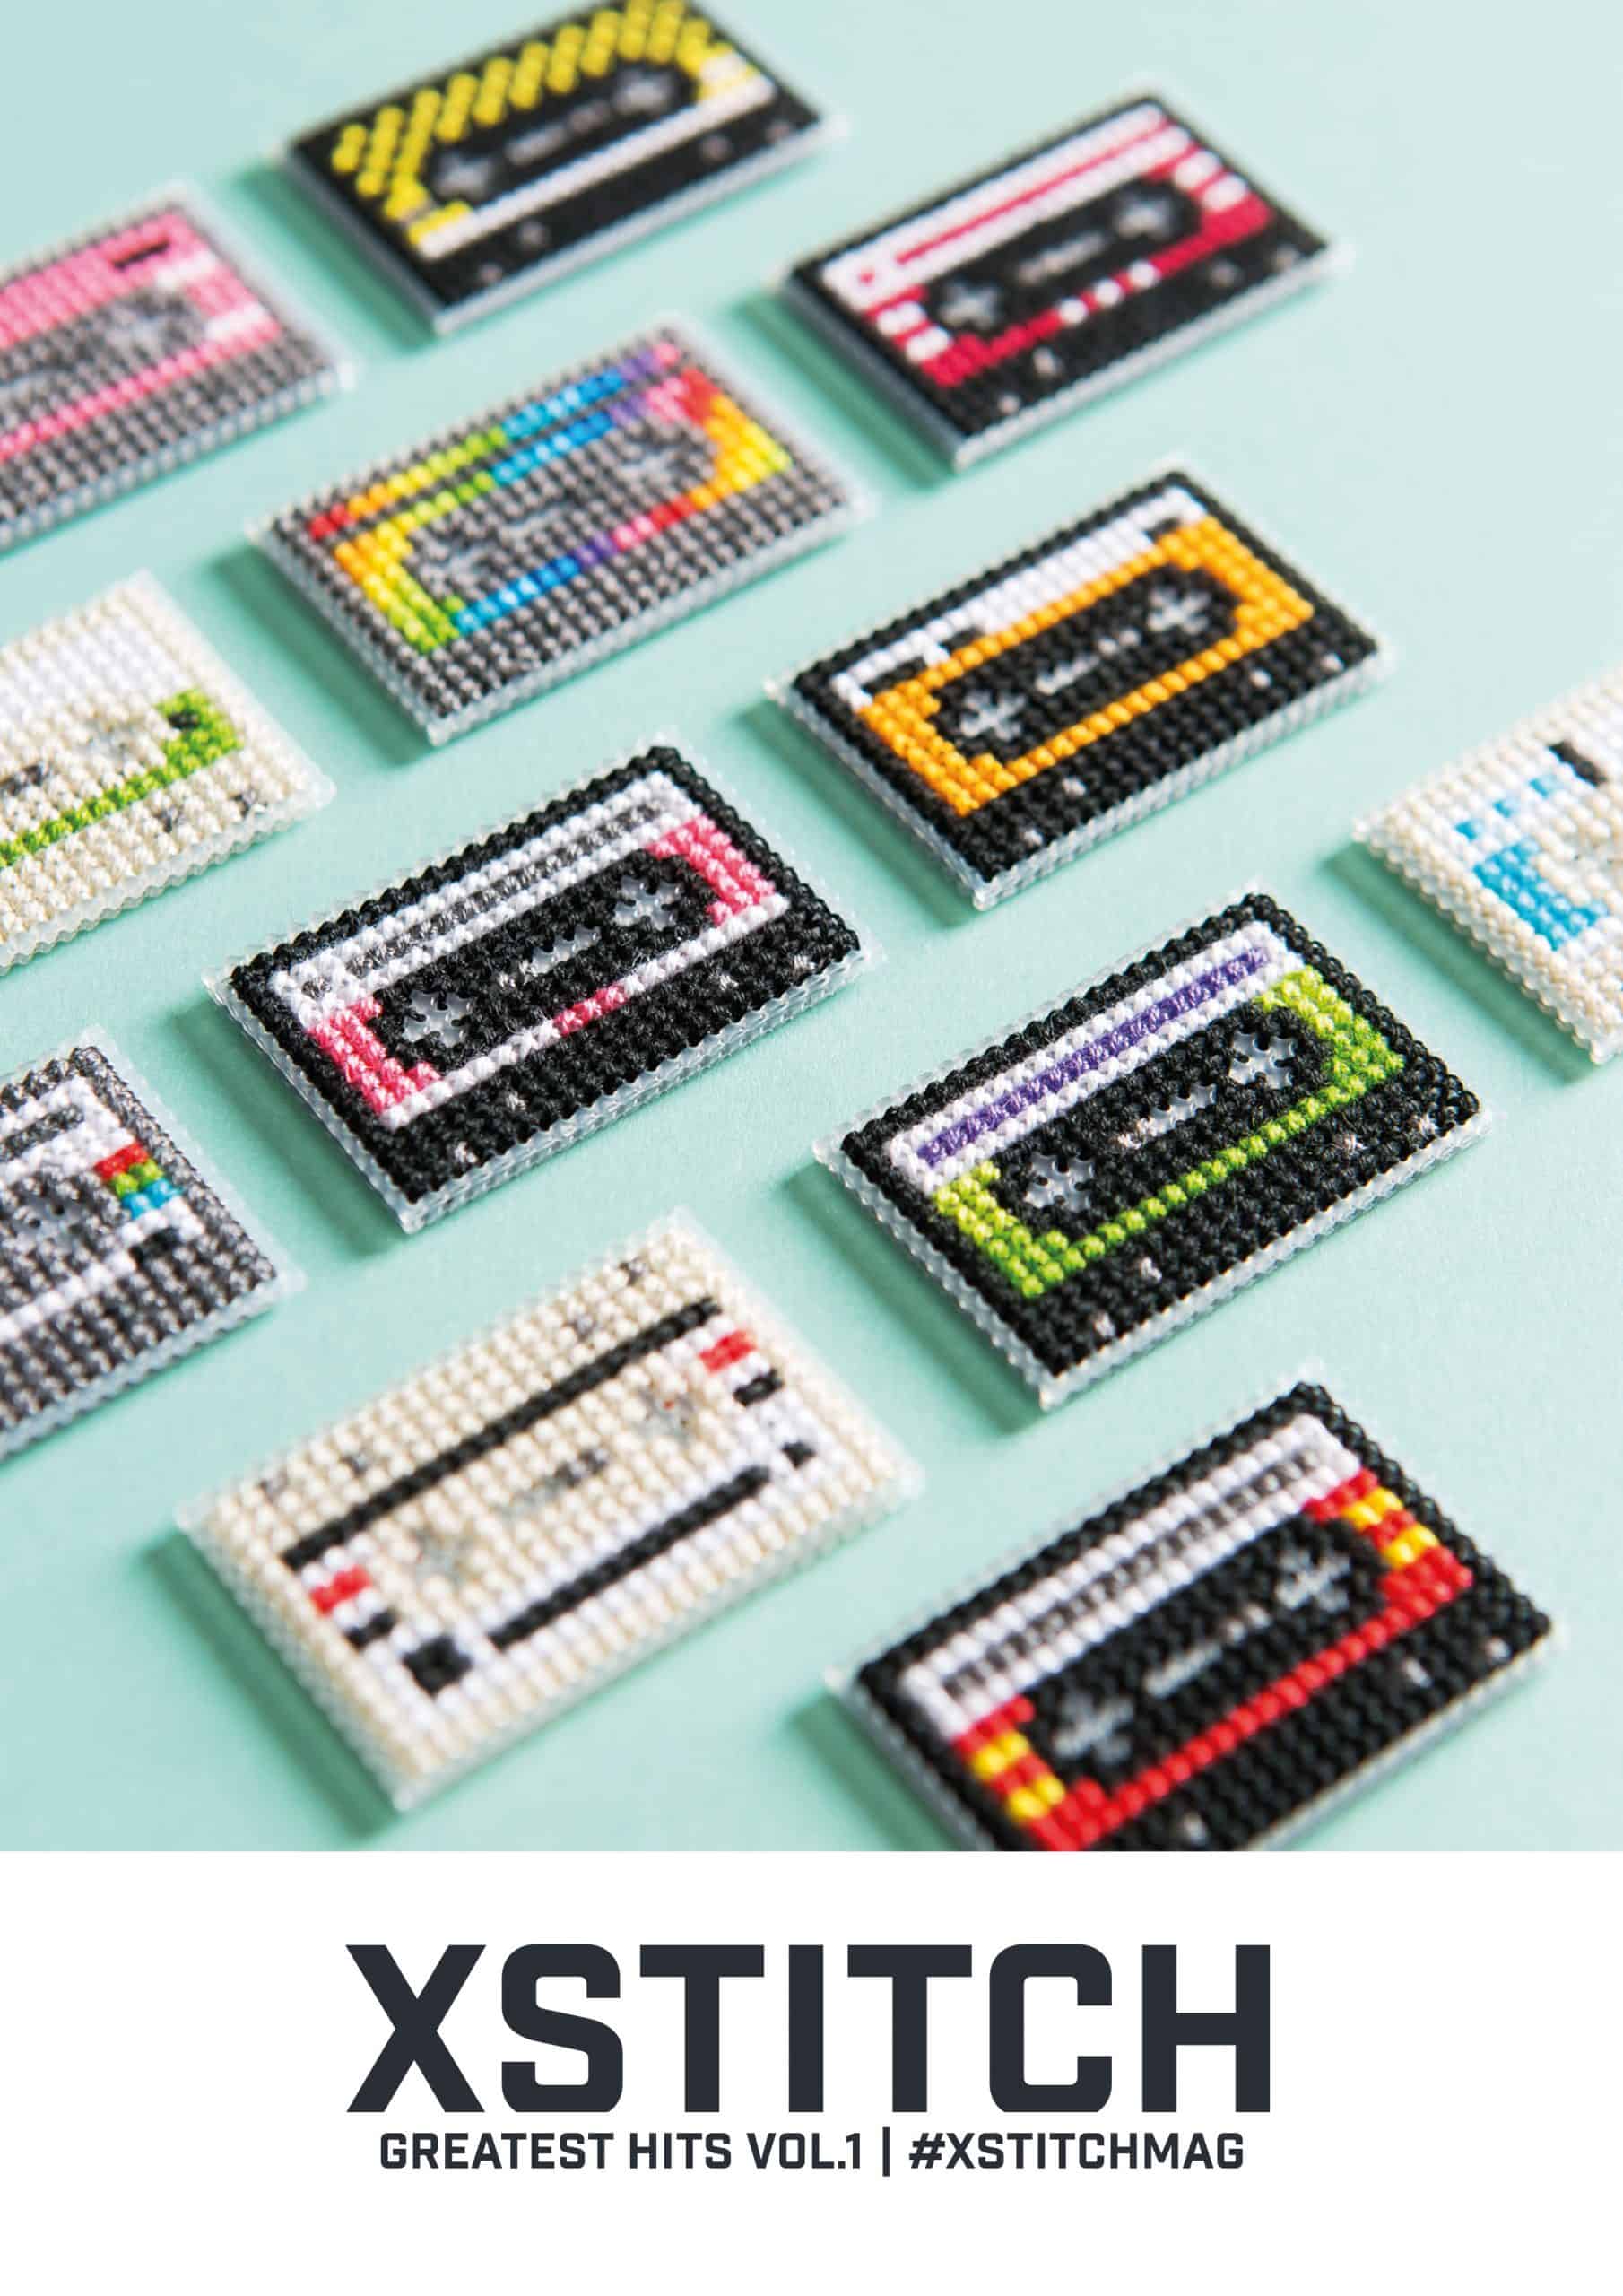
If you want a great starting point for cool designs that will be simple to stitch, check XStitch Greatest Hits Volume 1, featuring ten of our most popular designs at an amazing price!
Embarking on your journey with metallic threads can be a mesmerizing experience. I hope these tips elevate your cross-stitch projects to new heights of creativity and beauty. I’m eager to hear about your experiences and see your stunning creations.
Connect with our community on the XStitch Magazine Facebook page or Instagram, and remember, every stitch you make adds to your unique story in the tapestry of life. Happy stitching!


[…] Kreinik Threads started 40 or so years ago, real metal threads that add visual interest and sparkle to needlework — long used in embroidery; we’re talking […]