
If you’ve never tried cross stitch before, you might worry that it will be difficult. At XStitch Magazine, we are here to put your mind at ease.
Cross Stitch is one of the easiest forms of needlework as it combines a simple, straight stitch with a fabric that has evenly spaced holes to pass the thread through. The charts for cross stitch are similar to painting by numbers and by counting carefully and stitching slowly, you will easily learn to cross stitch.
Let’s take a look at the elements of cross stitch so that you can feel confident and start stitching right away!
What Is A Cross Stitch?
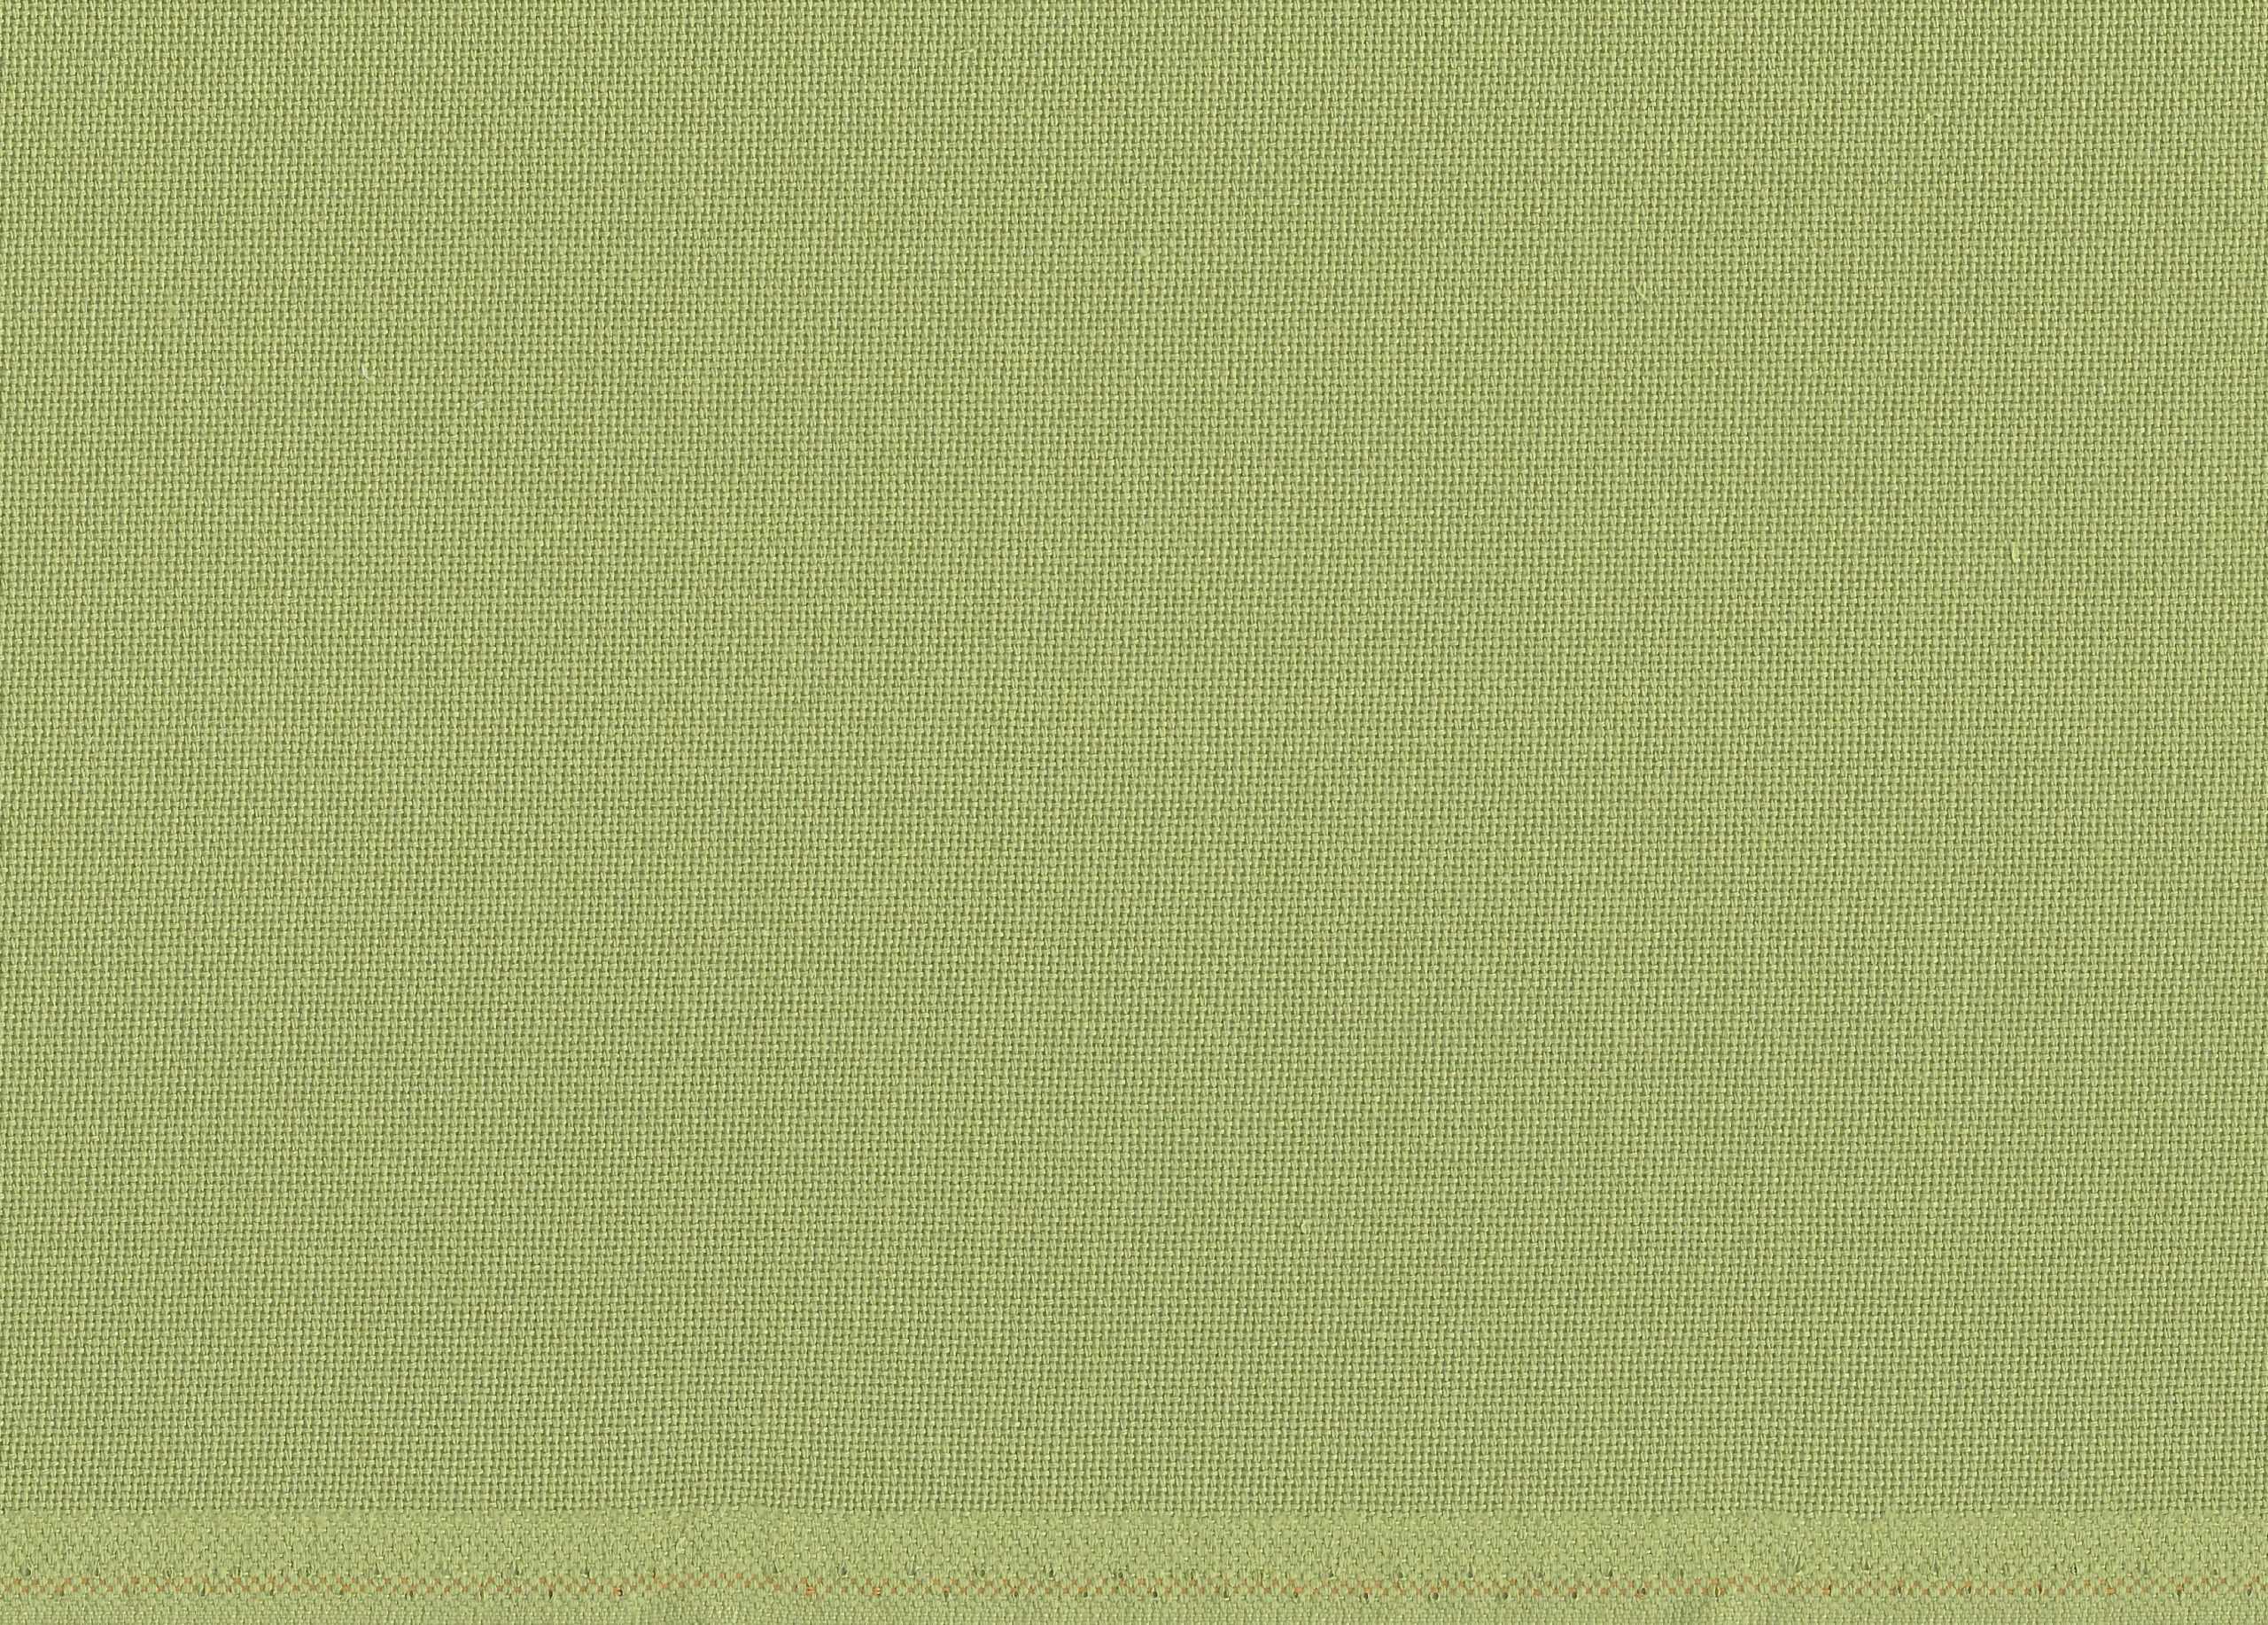
A cross stitch is two diagonal stitches, made of thread, that go through pre-determined holes in an evenweave fabric. This fabric, often called aida, is an even weave fabric because the warp and weft strands (the “horizontal” and “vertical” strands) are evenly spaced, which creates a grid of holes through which you can stitch.
Cross stitch is comprised of two stitches – a top stitch and a bottom stitch – that run diagonally between the four holes in a square of even weave. It doesn’t matter which direction the top or bottom stitch go in, but it is nicer if you can get your bottom stitch to always follow the same direction.

Embracing the Learning Curve: Common Challenges and Their Solutions
Cross-stitching is a delightful craft, but like any skill, it comes with its own set of learning experiences. Let’s navigate through them:
- Threading The Needle
- Getting Knots
- Miscounting The Stitches
- Losing Your Needle
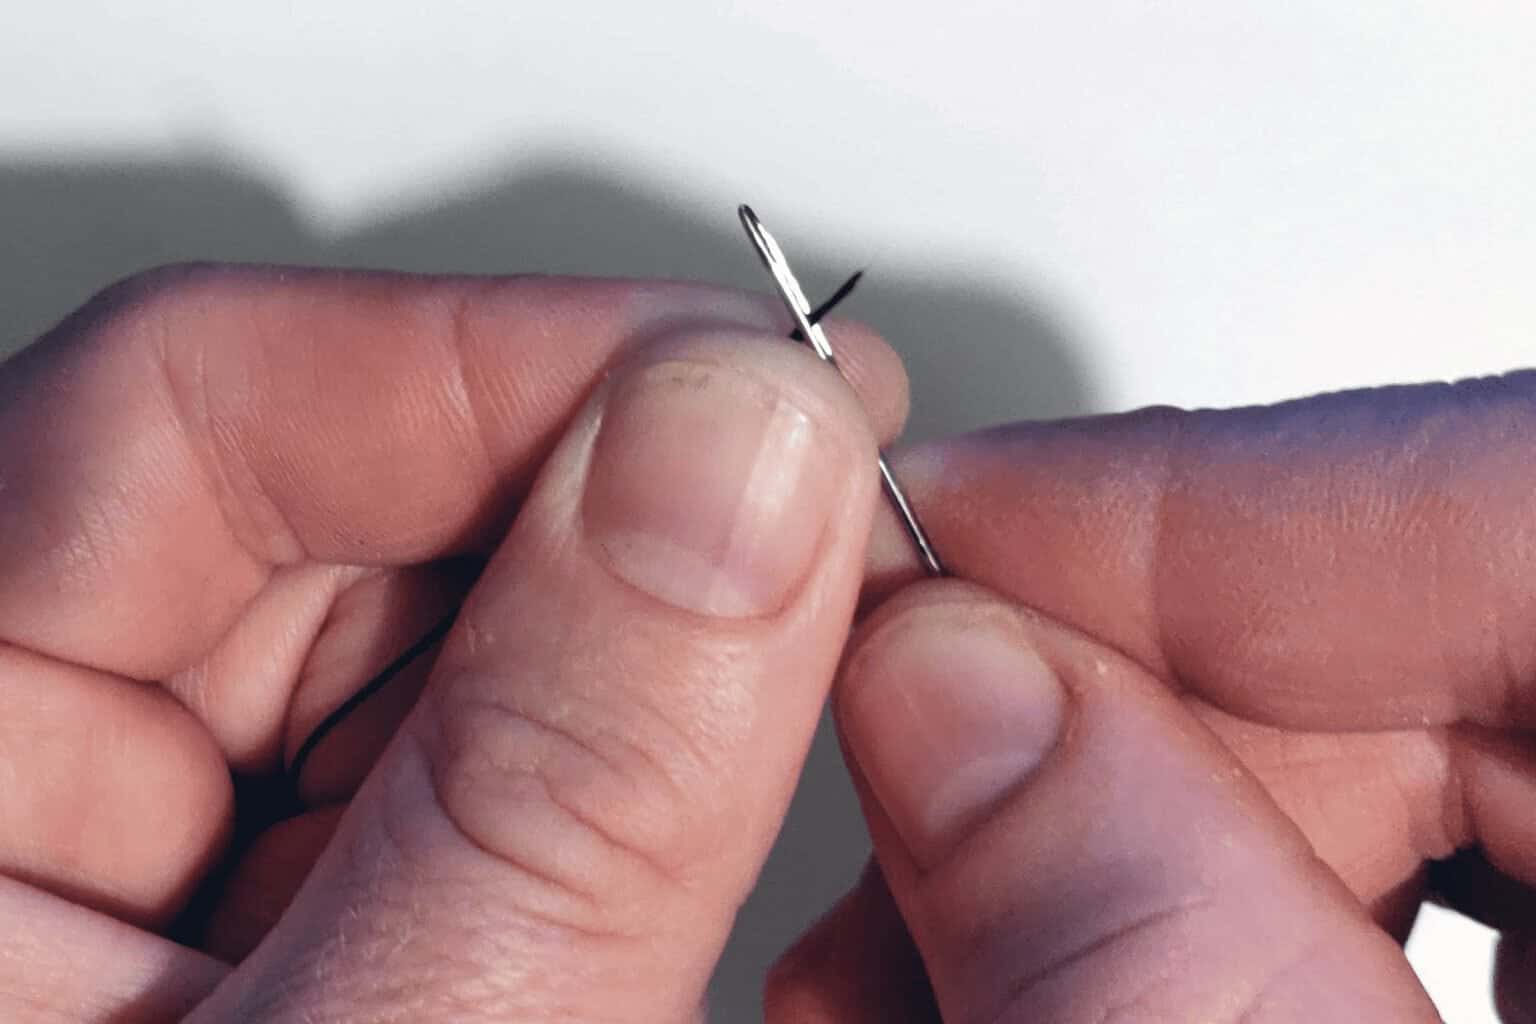
Threading The Needle
Ah, the art of threading the needle—a task that can test the patience of even the most seasoned stitchers. While it may seem daunting at first, rest assured that practice makes perfect.
When you’re just dipping your toes into the cross-stitch waters, you might find the thread has a knack for slipping out of the needle’s eye. Fear not! With a bit of practice, you’ll master the art of anchoring the thread securely. While it’s a bit like trying to describe the taste of chocolate to explain in words, the key lies in your pull strength. Be mindful of the tension as you stitch, and you’ll soon find the sweet spot that keeps that thread right where you want it.
A pro tip is to wet the thread’s end to stiffen it, making it easier to pass through the needle’s eye. And if you find yourself struggling, there’s no shame in using a needle threader. These handy tools are both affordable and effective, and they can save you a lot of time and frustration.
If you struggle with threading a needle, there’s nothing wrong with buying a needle threader. It can save a ton of time and they’re very cheap, so feel free to get one here!
Getting Knots
Knots are the unexpected twists and turns that add a dash of excitement to your stitching journey.
Each stitch you make adds a little twist to your thread—think of it as your thread doing a mini dance. Over time, these tiny twirls can accumulate, causing your thread to bunch up like a mini yarn ball. If you’re not careful, you might accidentally stitch through this tangle, creating a knotty situation on the back of your masterpiece.
If you notice the thread starting to bunch up, simply drop the needle and let it unwind itself. It’s like hitting a mini reset button for your stitching!
Over time, you’ll develop a sixth sense for when a knot is about to form, allowing you to pre-emptively address it.
For most knots, a little finesse and patience will help you untangle the mess. But let’s be real—sometimes you’re dealing with the Gordian Knot of the stitching world. In those cases, don’t hesitate to snip the thread and backtrack a few stitches. This will give you enough slack to securely tuck the thread under existing stitches and carry on like the stitching champ you are.
Miscounting The Stitches
Counting stitches is a bit like playing a game of Sudoku—it requires focus, strategy, and a keen eye for detail. But there are simple solutions that will help you keep your eyes on the prize!
Mark off the stitches on your chart as you make them. If you are able to print a version of the chart, it is useful to highlight the ones you’ve done, or cross through them with a pen. This gives you a sense of place when looking at your work.
With XStitch Magazine, you can get your charts in two formats – colours blocks and symbols, and symbols only. The latter makes it really easy to mark your progress.
Add grid stitches. This involves doing some simple running stitches with a single strand of thread at specific points on the fabric. Many stitchers will grid every tenth row or column as this usually conforms with the grid in the chart. Once you have finished stitching, you can remove the grid stitches with ease. This technique is hugely helpful if you are tackling large projects.
Use Xs as markers. If you are stitching a long run of stitches in the same direction, we recommend doing the bottom stitches first, so you can count out the area and then double back on yourself to make the Xs. As you go, make every fifth or tenth stitch an X as a placemarker and you’ll know how many you’ve stitched!
Losing Your Needle
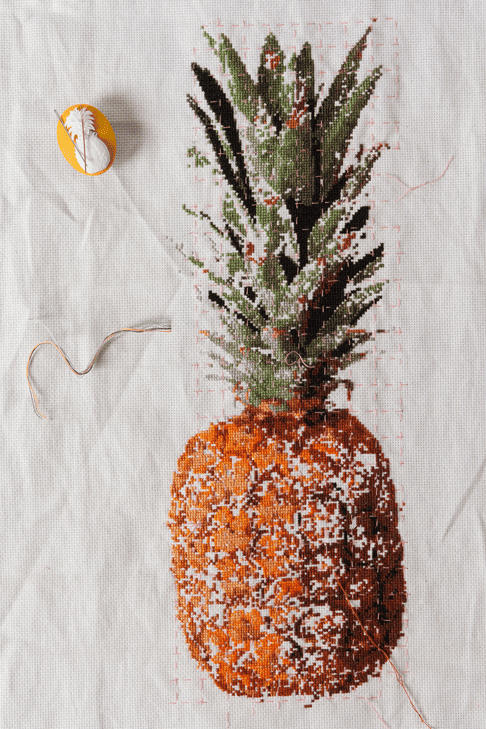
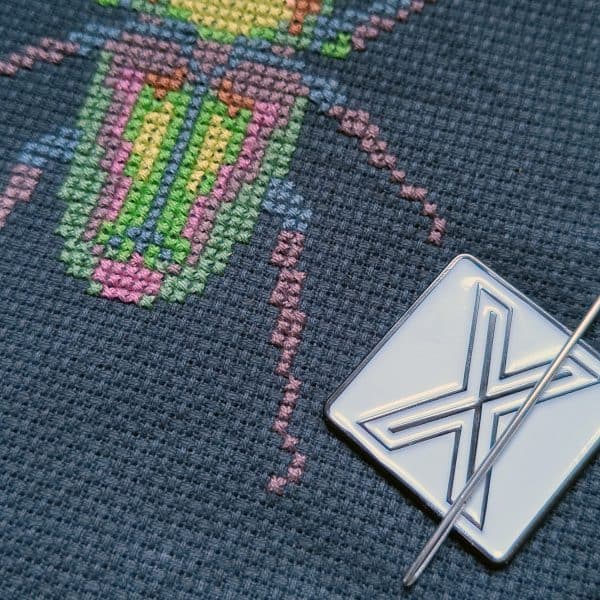
The elusive needle has a knack for disappearing just when you need it most. To keep your needle from going on an unscheduled adventure, consider using a needle minder. These magnetic tools attach to your fabric and serve as a safe parking spot for your needle when it’s not in use.
Needle minders, like our nifty white edition ‘minder, have two magnetic parts and can be “stuck” on by putting the pieces on either side of the fabric. When you finish your stitching, particularly if you’re just getting some more thread, you can put the needle onto the minder and it should stay there, out of harm’s way.
Hey! In case you were worried what the back of your cross stitch should look like, we’re here to help!
How Do You Read A Cross Stitch Chart?
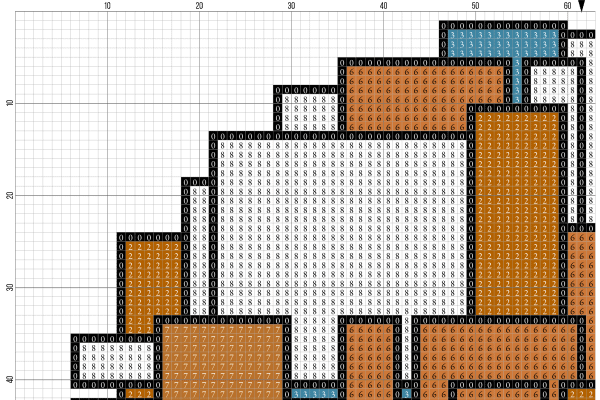
A cross stitch chart is the map by which you plot your stitching and in most cases it will consist of a grid containing letters or symbols. Each of these relates to a particular thread colour and by matching the colours to the grid, you stitch the design as intended.
Much like painting by numbers, it is important to make sure that you get the right colours for the right grid squares. Depending on the complexity of the design, you may want to sort your threads into the recommended order to make it easier to access them as you need to.
We recommend starting with the darker colours and also starting from the centre of the design, which should be indicated on the chart, so you can accurately place the design within your fabric. There are many schools of thought about the best way to complete a chart of many pages, but the prevailing wisdom is to stitch areas that are close to one another as this minimises the risk of miscounting.
Do not be afraid to mark off the stitches on the chart as you complete them, as this can be a great way to keep on track and also recognise your progress.
At XStitch Magazine, the charts in our magazines use Colour Blocks and Letters, so you can see the colour palette while also using the Legend to make sure you stitch the right colour in the right place. Our Stitchalong patterns also have charts that have no colour, so that you can mark off the stitches more easily.
Don’t Get Angry, Get Cross-Stitch!
Let’s be clear: every cross-stitcher, from rookies to grandmasters, has faced these challenges. And guess what? We’ve all lived to stitch another day. Sure, undoing stitches or re-threading needles can test your patience, but each stitch is a step toward mastery.
Don’t let a few bumps in the road deter you. The zen-like focus you’ll find in cross-stitching is its own reward, not to mention the heartfelt gifts you’ll create for yourself and others. So, keep that needle moving and your spirits high!
Want a shortcut to stitching satisfaction?
Get our Greatest Hits Vol. 1 featuring ten of our most popular designs for only £3.99!


[…] It is a haven of tranquillity, where the world fades away, and the rhythm of the needle lulls us into a state of peaceful bliss. If you are new to this and you are worried that cross stitch might be difficult, this article will put you at ease. […]
[…] As fabric counts changed in popularity, Kreinik developed Very Fine #4 Braid, which is exactly half the size of #8 Braid. This very fine thread is so soft, easy to use, versatile, and comes in so many gorgeous colors, it is now the most popular metallic for cross stitch. […]